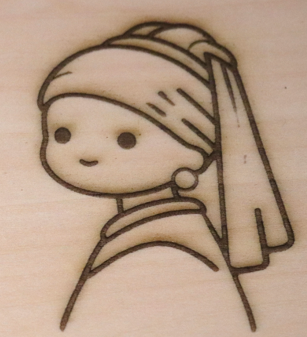
Excessive yellowing, charring, or dark discoloration along cut or engraved edges indicates inadequate heat and fume management. This guide walks through the four most common root causes and corrective actions.
¶ 1. Root Cause 1 — Air Assist Not Activated
The most frequent cause of yellowed or burned edges is an inactive or improperly set Air Assist pump.
¶ Resolution:
- Verify the Air Assist is powered on and connected to air nozzle.
- Confirm airflow level matches processing mode:
• Engraving: Level 1–2
• Cutting: Level 3+
On Aliencell Space, enable Auto Mode before starting a job. The system adjusts airflow automatically.
¶ 2. Root Cause 2 — Insufficient Airflow Under Material
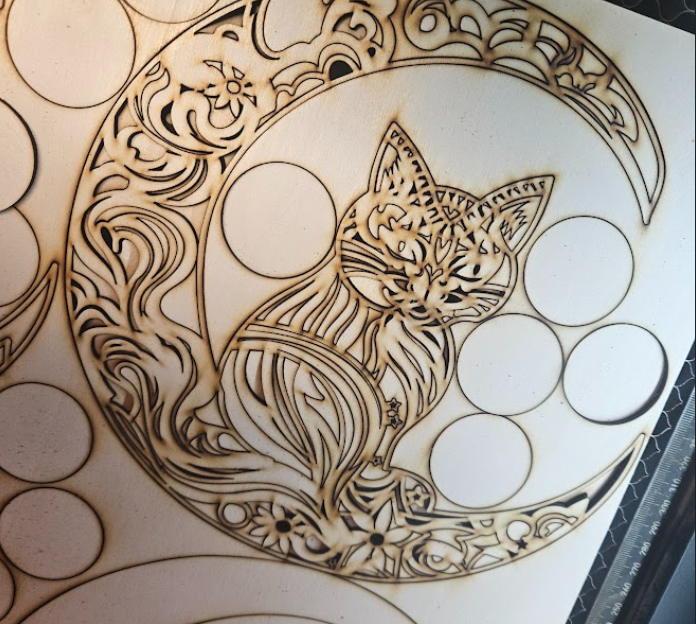
When material covers nearly the entire honeycomb bed, air cannot circulate freely beneath the workpiece. Trapped heat and fumes recirculate against the bottom surface, causing uniform yellowing on both sides of the material.
 |
|---|
Oversized material blocks airflow through the honeycomb bed |
This is a common issue with large sheet jobs.
¶ Resolution:
- Leave at least 20 mm / 0.79 in of open honeycomb exposed around the material perimeter.
- For full-sheet jobs, raise the material 3–5 mm / 0.12–0.20 in using spare material strips placed under corners.
- Process large sheets in sections rather than as one continuous piece.
¶ 3. Root Cause 3 — Incorrect Focal Distance
An inaccurate distance between the laser module and the material surface concentrates or defocuses the beam, increasing heat exposure at the edge and producing burned, fuzzy cuts.
¶ Resolution:
- Perform the 20 mm / 0.79 in focal height calibration before starting.
- Confirm the material thickness reading matches the actual material.
- Re-run auto-focus if the bed was repositioned.
¶ 4. Root Cause 4 — Contaminated or Damaged Protective Lens
Dust, debris, or scratches on the protective lens scatter the laser beam, creating diffused, uneven heat distribution that causes excessive charring.
¶ Resolution:
- Power off the machine and remove the laser module cover.
- Inspect the protective lens for dust, smudges, or scratches.
- Clean with isopropyl alcohol (>99 %) and a lint-free swab if dirty.
- Replace the protective lens if scratches, pitting, or permanent clouding is visible.
¶ 5. Additional Checks
If the issue persists after the four primary checks, investigate these often-overlooked factors:
¶ 5.1 Incorrect Processing Parameters
- Excessively high power or slow feed speed prolongs heat exposure at the edge. Reduce power by 5–10 % or increase cutting speed proportionally.
- Multiple overlapping passes over the same area compound heat buildup. Minimize redundant toolpaths.
¶ 5.2 Obstructed Exhaust System
- Verify the rear exhaust fan is operating and the duct is not kinked or blocked.
- Clear accumulated wood dust and debris from the exhaust path.
¶ 5.3 Material-Specific Behavior
- Resinous woods (pine, birch) naturally produce more char. Increase airflow and reduce power accordingly.
- Aged or moisture-absorbed material may yellow more readily. Test with fresh, dry stock.
- Certain masking or protective films can melt and discolor at laser temperatures. Try an alternative film brand.
¶ 5.4 Extended Continuous Operation
- Thermal drift in the laser module during long production runs alters focal characteristics. Power off and allow 10–15 minutes of cooldown before retesting.