Tip: This tutorial applies to older device firmware versions. If your X1 firmware is 1.0.74 or later, refer to Use X1 with LightBurn for the new firmware.
¶ 1. Disclaimer
- The Aliencell X1 can be controlled using third-party software, LightBurn.
- Please make sure you download and install the official, genuine LightBurn software.
- Always connect your device properly before running any processing tasks. Using pirated or unstable software may lead to unexpected disconnections or even damage to your equipment. Aliencell is not responsible for any issues caused by improper software usage.
While Aliencell X1 is compatible with LightBurn, we still recommend experiencing Aliencell Space – our official control software. Aliencell Space is deeply integrated with the X1 hardware, providing a smoother, more complete experience and unlocking additional features and optimized workflows not available in third-party software.
¶ 2. Installing and Preparing LightBurn
¶ 2.1 Downloading and Installing LightBurn
- You can access the official LightBurn download page via the link below. Choose the installation package corresponding to your operating system:
👉 Download Official LightBurn Installer - After downloading, follow your system's prompts to complete the installation process.
Before using your Aliencell X1, you need to download and install the official, genuine LightBurn software.
LightBurn offers a 30-day free trial. Please ensure you download the legitimate software to guarantee stability and device safety.
To ensure the proper functioning of your device, it is highly recommended to use the official LightBurn software version 2.0.00 or higher.
¶ 2.2 LightBurn Official Tutorials
For a better grasp of LightBurn, you can refer to their official documentation and video tutorials:
¶ 2.3 Preparing LightBurn Configuration Files
The Aliencell X1 offers three different Laser Module power options: 20W / 40W / 60W. Please download the corresponding LightBurn configuration file to your computer based on the Laser Module you are currently using:
It's crucial to select the configuration file that matches your installed Laser Module's power, as incorrect files may lead to incompatible parameters and affect the engraving/cutting results.
¶ 3. Connecting LightBurn and the Device
¶ 3.1 Powering On the Device
 |
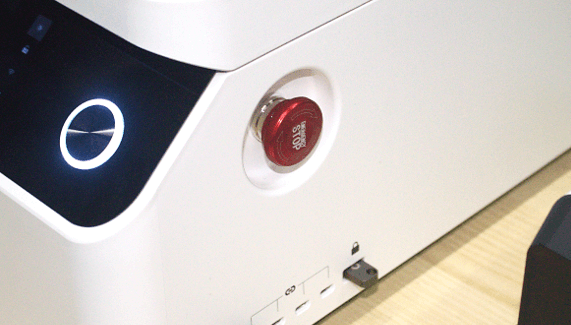 |
Turn on the Main Power Switch |
Ensure the U-key is inserted into the U-key Interface, and the Emergency Stop Button is released |
¶ 3.2 Importing the Configuration File
- Launch LightBurn software. In the menu bar, select Devices, then click the Import button on the right.
- Locate and select the
.lbzipconfiguration file you downloaded, then click Open to import it into LightBurn. - Once the configuration file is successfully imported, you will see Aliencell X1 appear in the device list.

¶ 3.3 Connecting the Device Port
After importing the configuration file, you need to establish a connection between your Aliencell X1 and LightBurn.
-
Insert one end of the USB-C to USB cable into the Aliencell X1's control port and the other end into your computer's USB Port.

-
In LightBurn, select the correct COM port for your device. Once successfully connected, the status bar in the bottom left of LightBurn will display Ready.
-
Click the Console tab, and if it returns
ok, your device is successfully connected.
If it displays Disconnected, please recheck if the USB-C to USB cable is properly plugged in and confirm that the drivers are correctly installed.
Once connected, you can use LightBurn to control your Aliencell X1 for processing tasks.
¶ 4. Completing an Engraving Project with LightBurn
This example demonstrates a simple text engraving. You can design your own patterns or import existing projects to process with your Aliencell X1.
¶ 4.1 Placing the Material
Place your engraving material, such as a wooden board, in the center of the work area and close the lid.
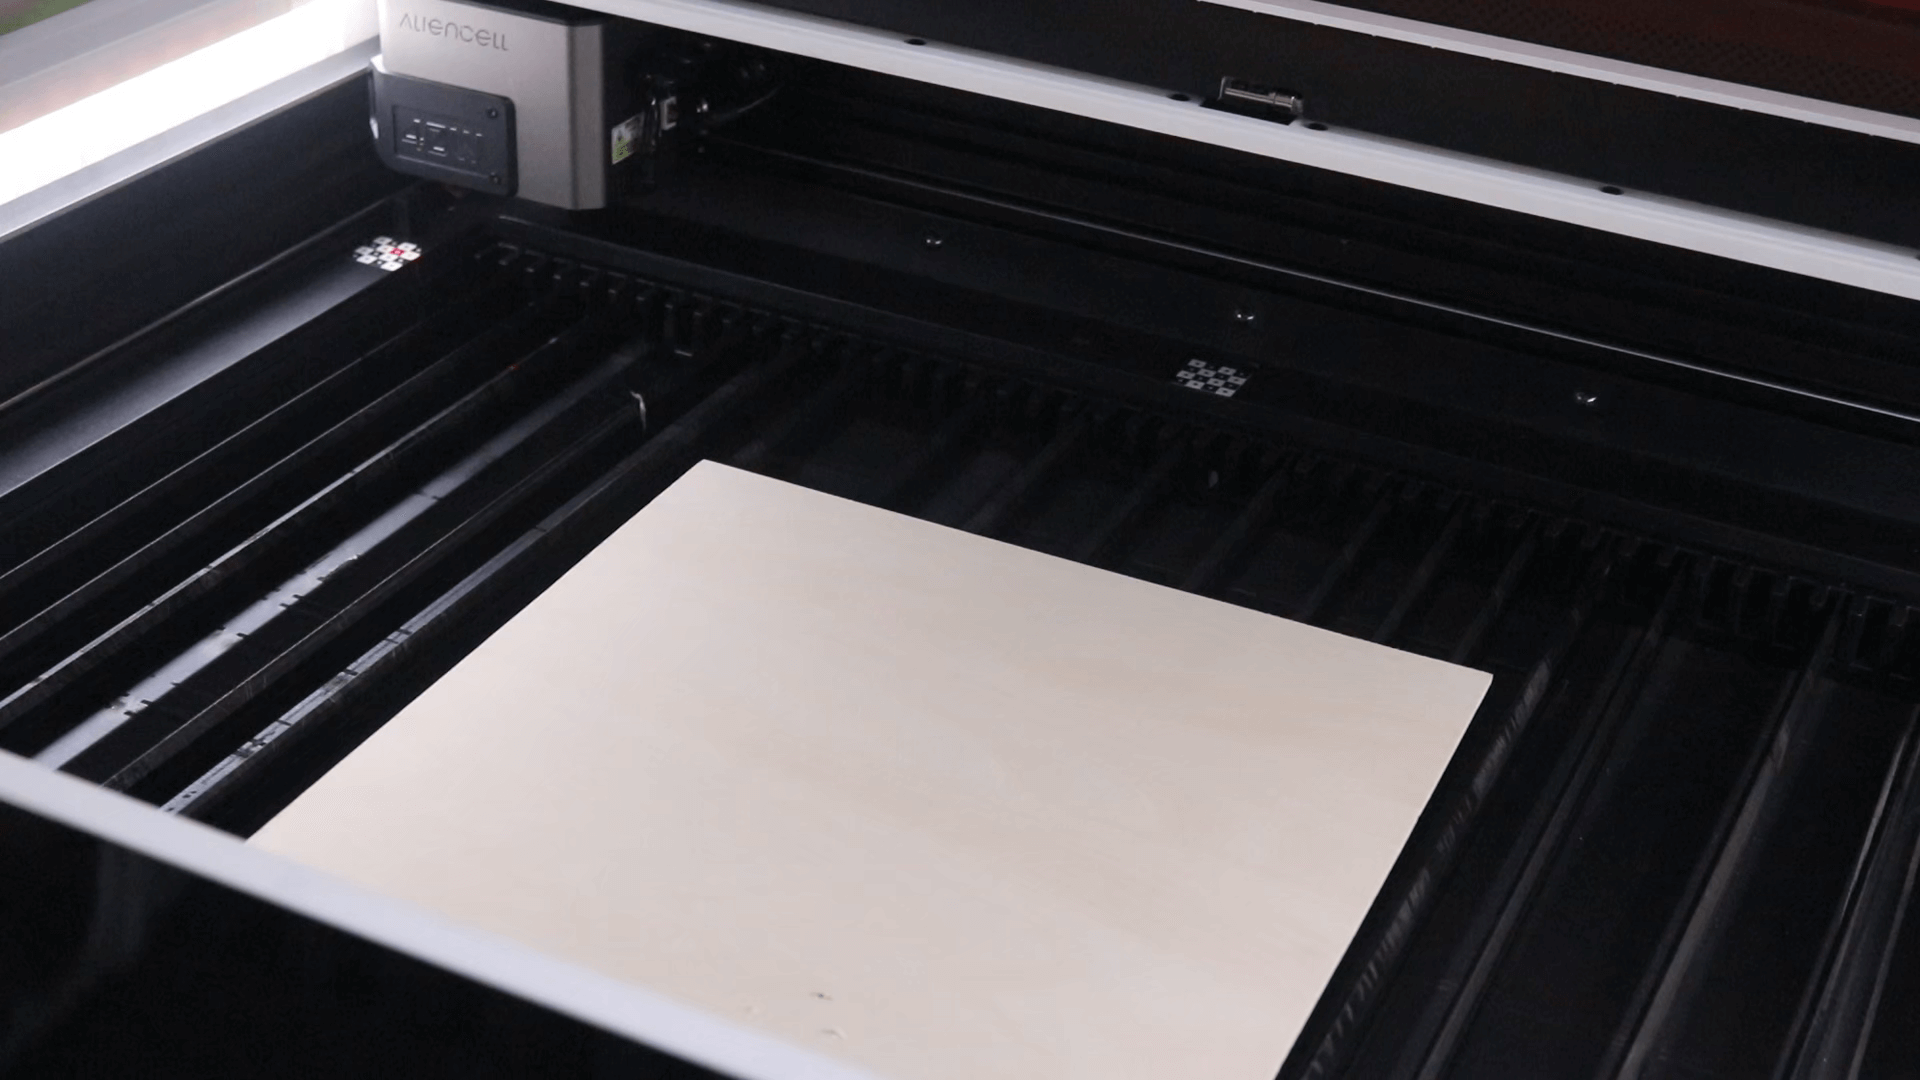
For lighter or thinner materials, you can secure them using the Material clamp.
¶ 4.2 Auto-Focus
-
Drag the Laser Module over the surface of the material.
-
In LightBurn, click Macros, then click the DETECT button. The device will then perform auto-focus.
-
The auto-focus process: The Laser Module first returns to its origin, extends its probe (Distance Sensor), and then moves above the material surface. The Z-axis then moves downwards until the probe contacts the material surface, thereby measuring the focal distance. After measurement, the Laser Module returns to its origin and retracts the probe. Finally, it automatically adjusts the Z-axis height based on the acquired focal distance, positioning the Laser Module correctly for processing.
¶ 4.3 Designing the Engraving Pattern
¶ 4.3.1 Entering Text
- Select the Text tool (A) from the left toolbar.
- Click on the canvas and type your text:
HELLO. - Use your mouse to drag or the properties panel to adjust the font size and position.
¶ 4.3.2 Setting Up the Processing Layer
- LightBurn will automatically assign the text to a color layer (e.g., the black layer).
- In the Cuts / Layers panel on the right, double-click this layer to enter its parameter settings:
- Mode: Choose Line (for line engraving).
- Speed: Set to an appropriate speed (e.g., 200 mm/sec).
- Power: Set the processing power percentage (e.g., 25%).
- Click OK to save.
Difference between Line and Fill
Line: Used for vector outline cutting or scoring lines (typically set for single or multiple passes).Fill: Used for raster engraving/scanning (fills line by line, commonly used for photos or large area engravings).
¶ 4.3.3 Preview and Frame Check
- Click the Frame button to confirm that the engraving area aligns with your material's position.
¶ 4.3.4 Starting the Engraving
Always close the device lid before running a job!
- Click Start. LightBurn will send the file to the device, and once transferred, it will begin engraving the text
HELLOonto your material.
¶ 5. FAQs
¶ Is LightBurn free?
No. LightBurn is paid software.
Note: LightBurn officially offers a 30-day fully functional free trial. We recommend downloading and trying it out before purchasing.
¶ Is the camera feature supported?
Currently, no.
Camera functionality for the X1 series within LightBurn is currently under development. Please stay tuned to official Aliencell announcements for the latest feature updates.
¶ Which License Key should I purchase?
Please purchase the G-Code License Key.
To ensure stable communication between the software and the machine, as well as full functionality, we recommend using LightBurn version 2.0 or higher.
¶ Can I set up a Wi-Fi connection to the machine in LightBurn?
No.
Wi-Fi setup is not supported in LightBurn. Please use a USB cable.