When you select the Engrave mode, the following set of parameters will appear, allowing you to fine-tune the surface effects of your design.
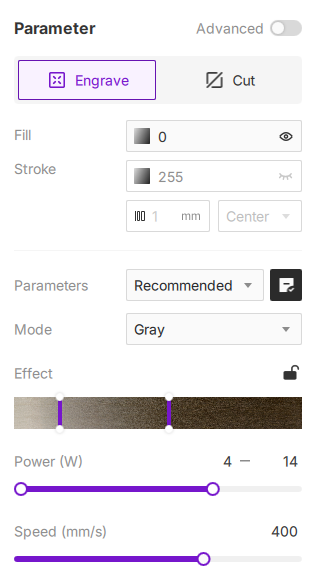
¶ 1. Fill
Fill refers to engraving the entire inner area of a closed shape. It doesn't just color in a shape; it intelligently recognizes the regions defined by one or more closed paths and engraves those areas completely.
¶ 1.1 Fill Features
-
Applicable Objects: Vectors and text support Fill. You can click the
 icon on the right to toggle the fill's visibility. Bitmap objects do not support Fill.
-
Fill Principle: When Fill is enabled for an object, it follows an even-odd alternating rule to determine which areas are engraved and which are left untouched.
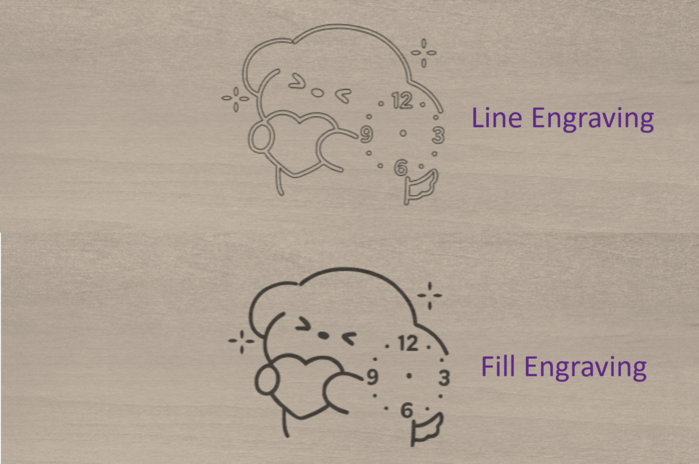
¶ 1.2 Fill Engraving vs. Line Engraving
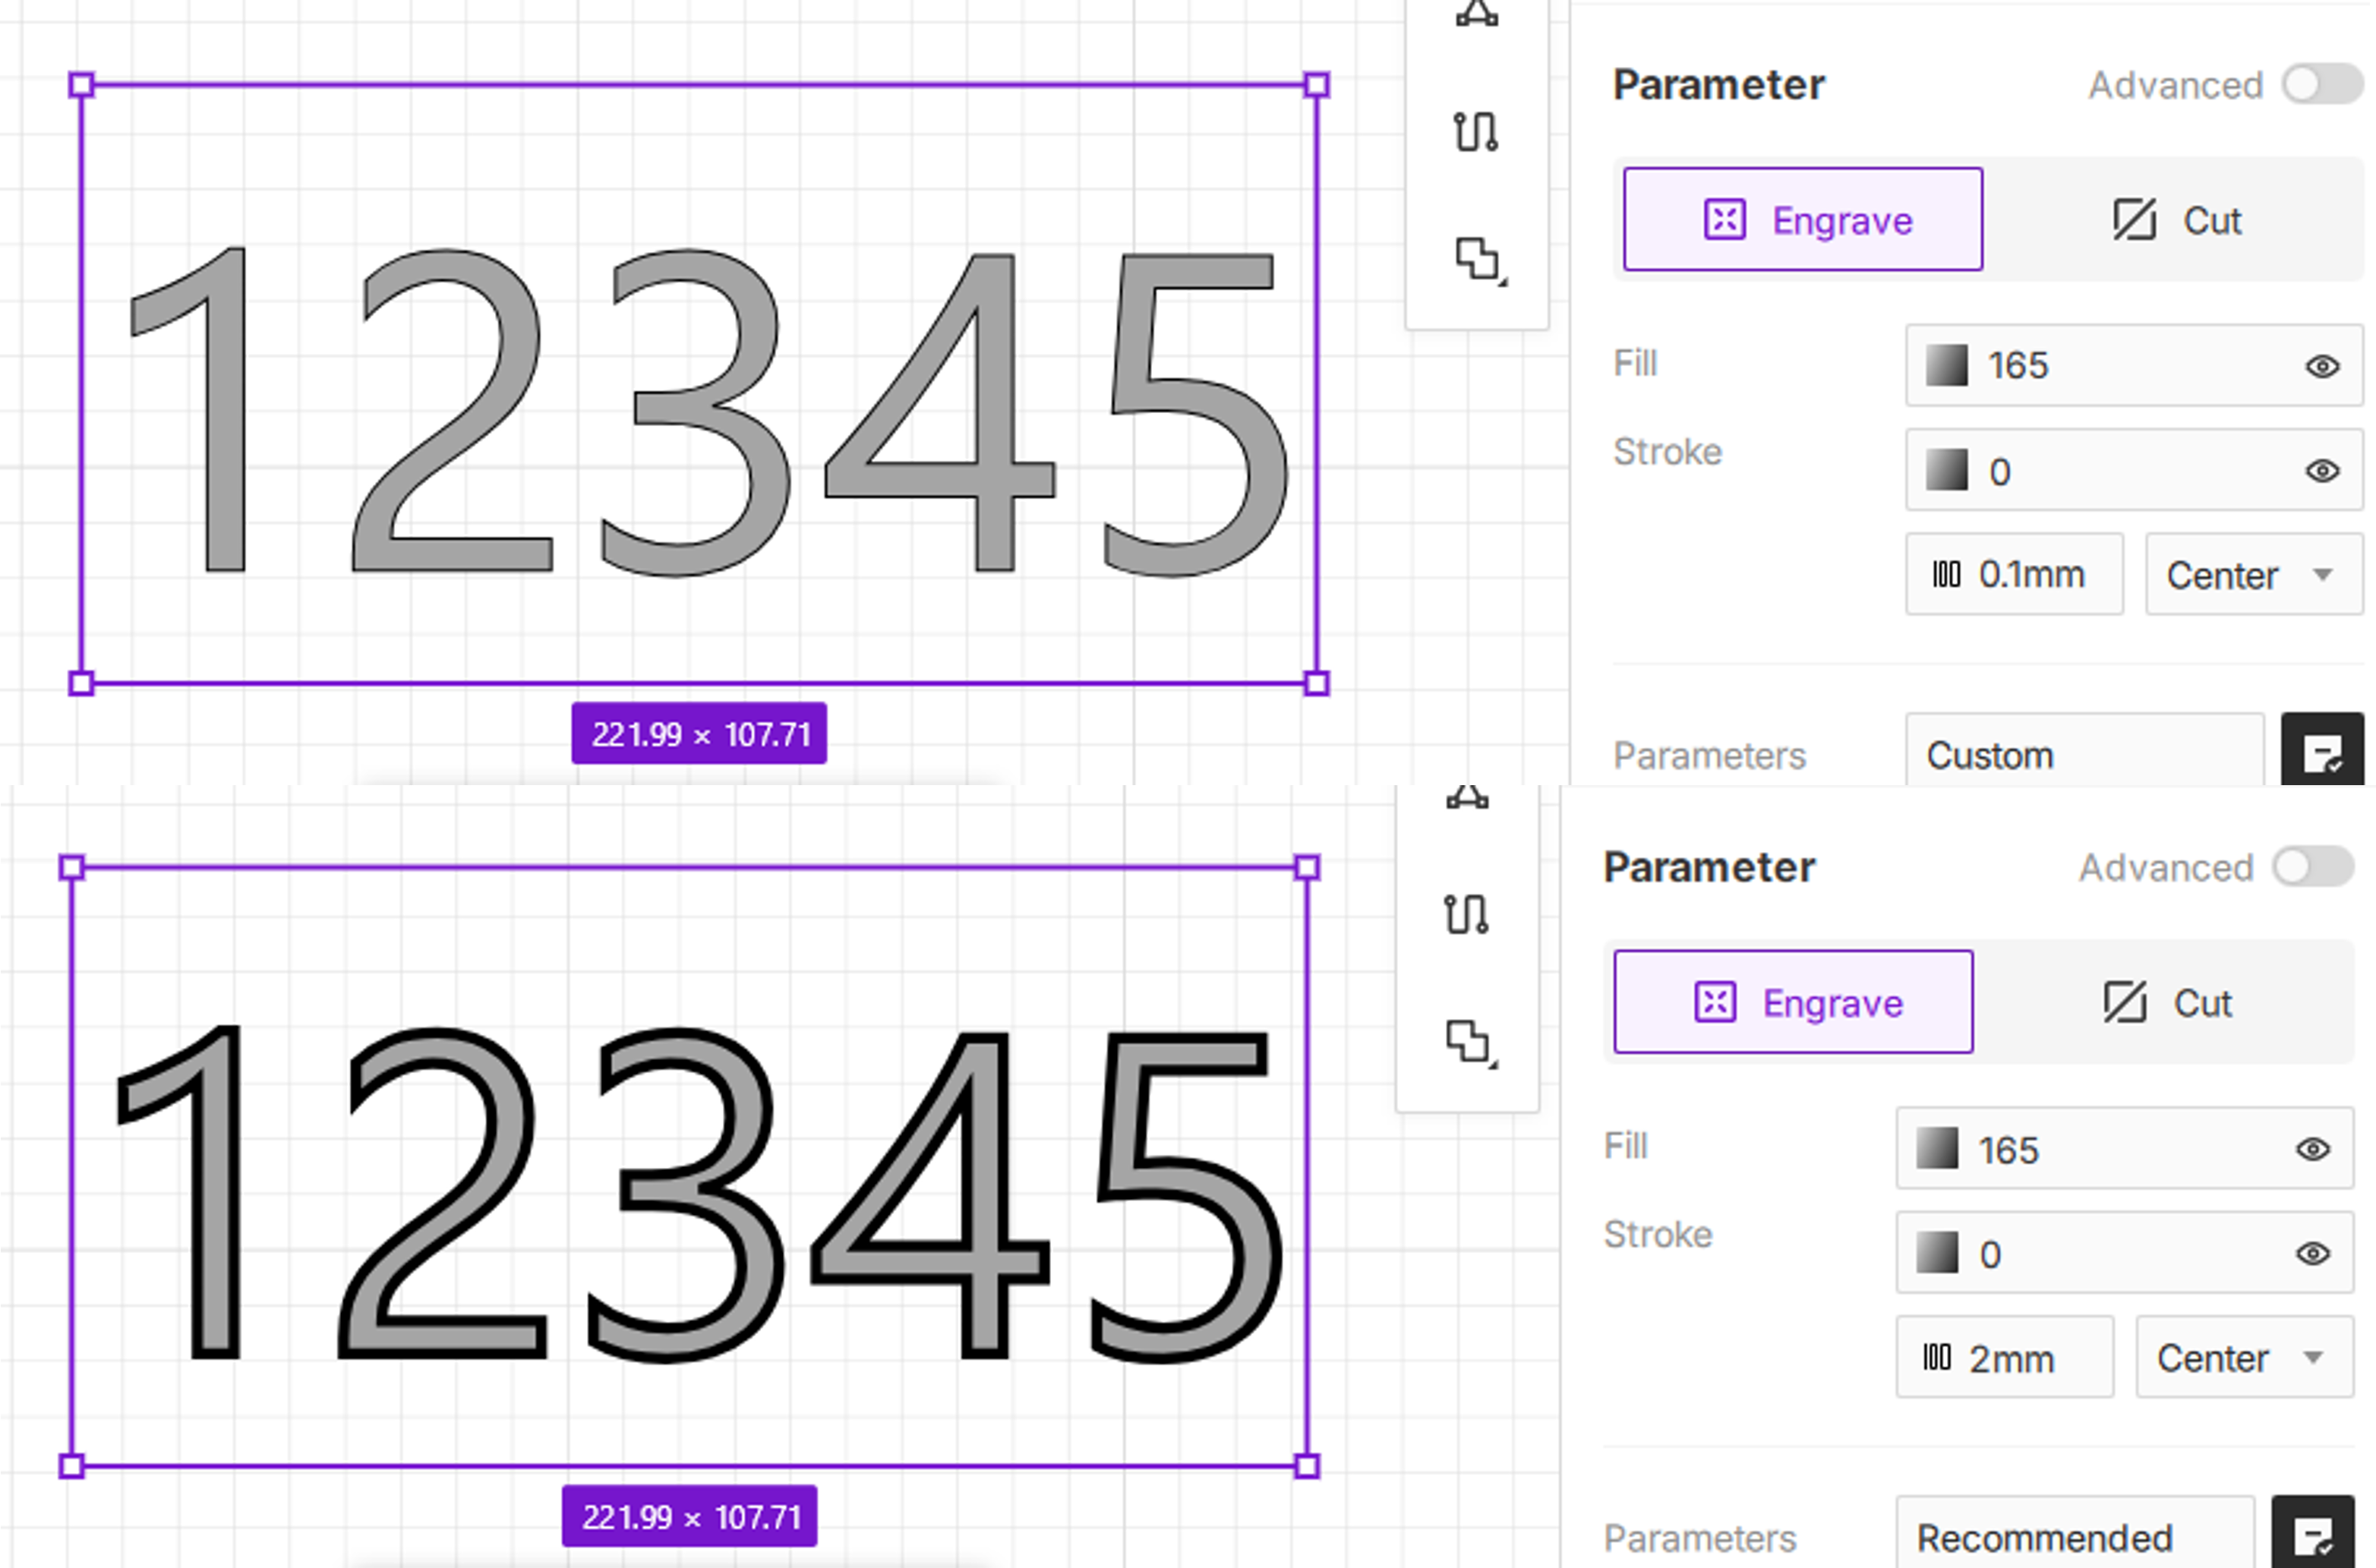
- Fill Engraving: With Fill enabled, the laser module uses a raster scanning method, moving back and forth, line-by-line, to create a solid pattern.
- Line Engraving: With Fill disabled, the laser module will only trace the object's outline, creating a hollow, stroke-like effect.
¶ 1.3 Fill Grayscale Value
- The default fill color is black (value 0). You can adjust this using the number input or the slider, with a range from 0–255.
¶ 2. Stroke
Stroke refers to engraving the outline or boundary of an object.
¶ 2.1 Stroke Features
- Applicable Objects: All object types, including vectors, text, and bitmaps. You can click the icon on the right to toggle the stroke's visibility.
- For vector and text objects: The laser will engrave an outline along the shape's mathematical path.
- For bitmap objects: The software automatically detects the image's outer boundary and engraves a contour line around it. This is useful for adding a neat border to an engraved photo or for cutting it out along its silhouette after engraving.
¶ 2.2 Stroke Grayscale Value
- The default stroke color is black (value 0). You can adjust this using the number input or the slider, with a range from 0–255.
¶ 2.3 Stroke Width
Stroke width refers to the thickness of the outline.
- The default stroke width is 1mm, adjustable from 0.1mm to 10mm, with precision up to two decimal places.
- If you enter a value outside this range, the software will automatically correct it to the nearest minimum or maximum value.
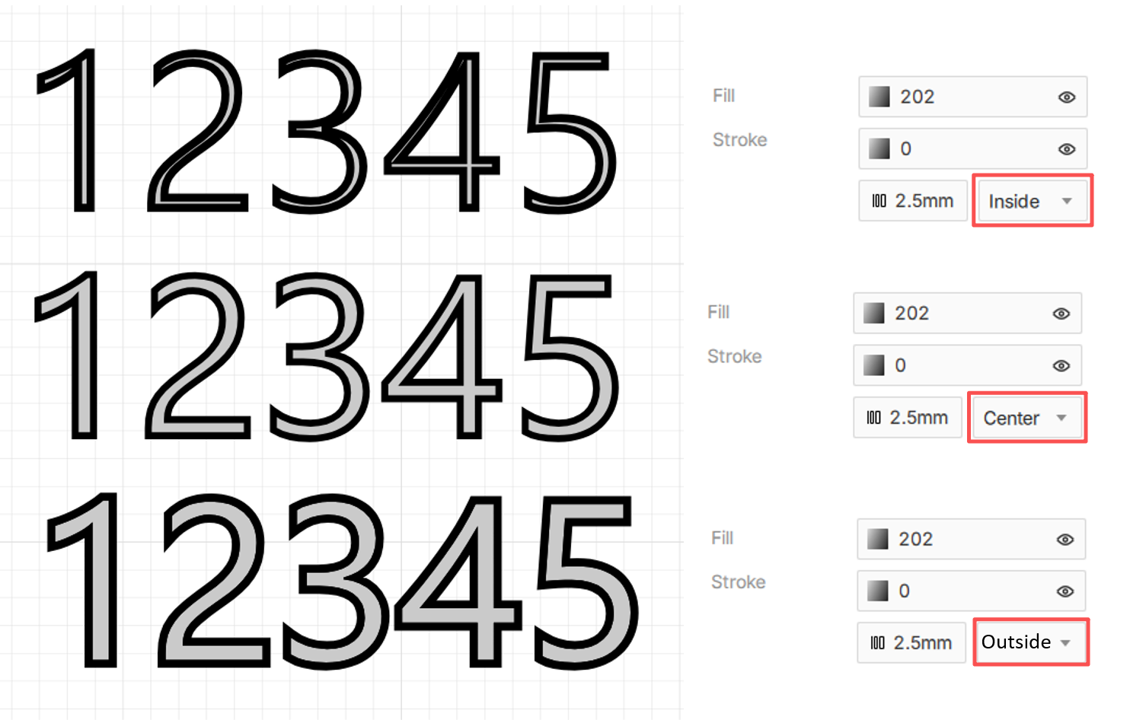
¶ 2.4 Stroke Position
Stroke position determines where the outline is drawn relative to the original path. You can choose to position the stroke at the Center, Inside, or Outside of the path.
- Center: The stroke is centered on the path.
- Inside: The stroke extends inward from the path.
- Outside: The stroke extends outward from the path.
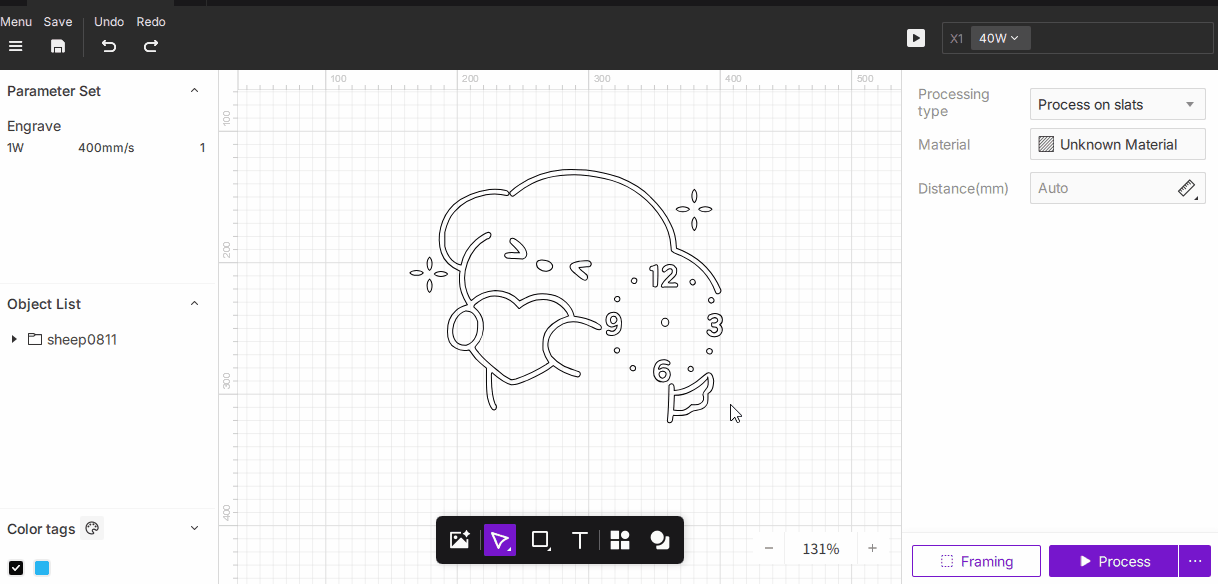
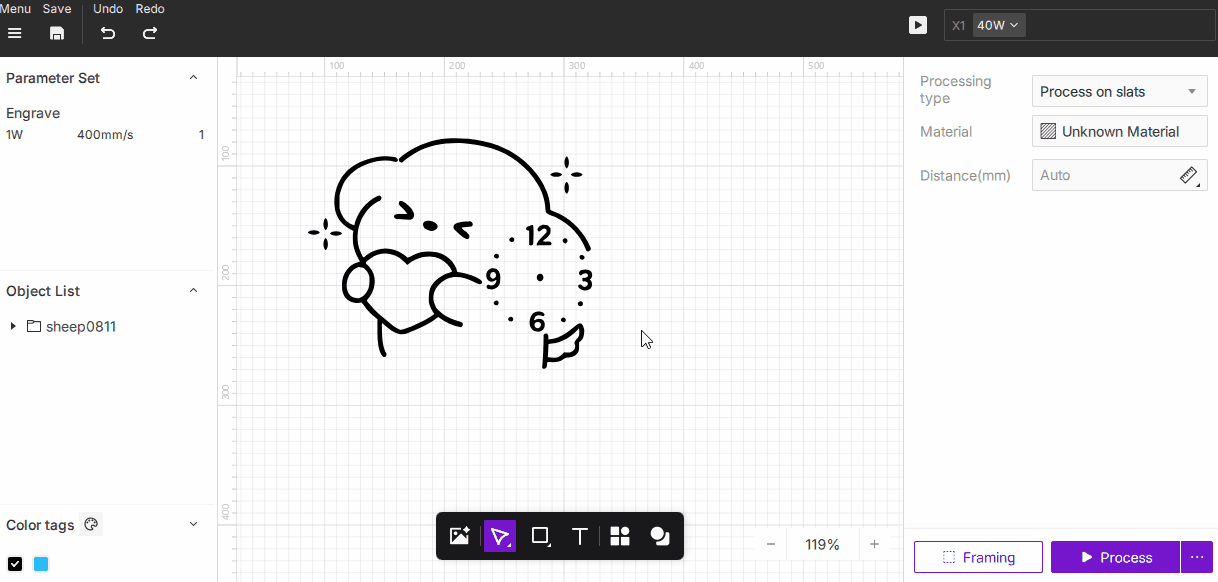
¶ 3. Parameters
Manage and apply parameter presets for efficient and consistent jobs. You can create custom presets for your objects, use the recommended settings, or select from your previously saved presets.
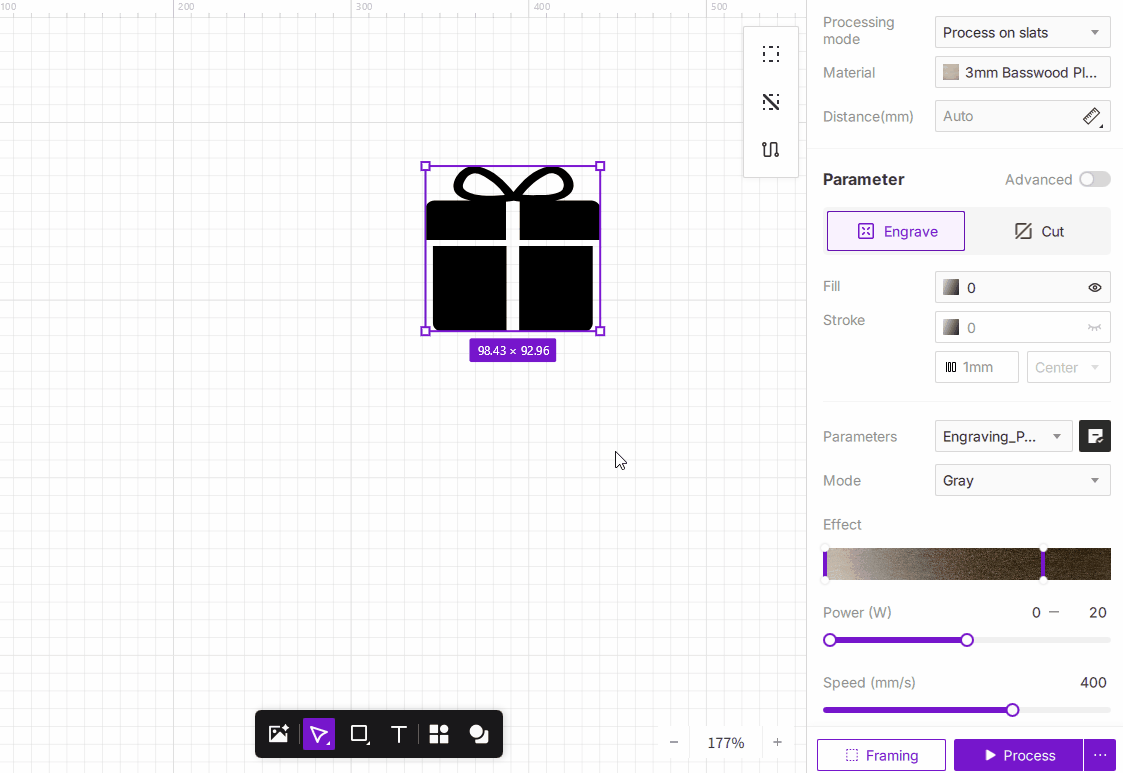
¶ 3.1 Recommended Parameters
When you select an official material from the library, a set of tested, recommended engraving parameters will be loaded here automatically.
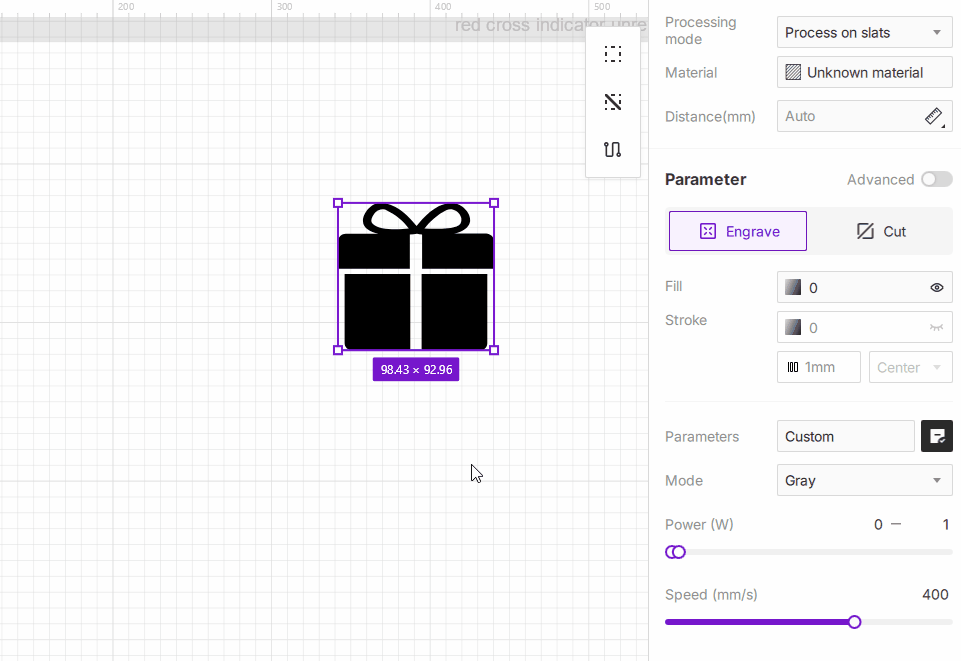
¶ 3.2 Custom Parameters
When you use "Unknown Material" or manually adjust any parameter, this field will automatically change to "Custom". If you want to save your current settings, click the  icon on the right. A naming window will pop up, allowing you to save the current parameters as a new preset.

¶ 3.3 Saved Presets
Use your previously saved custom presets for quick setup. To delete a saved preset, click the drop-down arrow, hover your mouse over the preset you wish to delete, and click the delete  icon that appears on the right. Note that you cannot delete the currently active preset.
If the preset you want to delete is currently selected, you must first switch to another preset. Then, open the drop-down menu, hover over the preset you wish to delete, and click the delete icon.
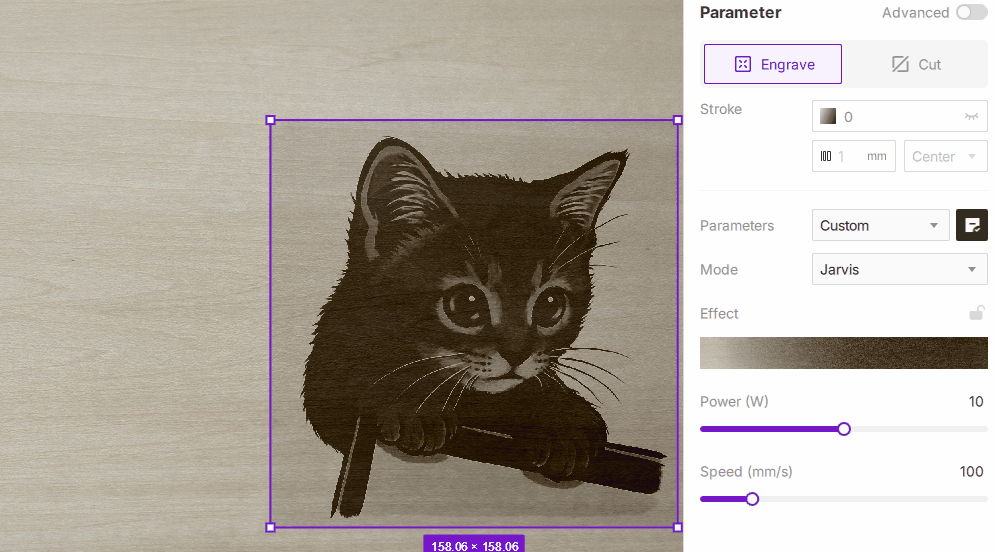
¶ 4. Mode
In laser engraving, the Mode determines how the laser interprets the light and dark areas of an image, which in turn affects the final grayscale tones, detail, and texture of the engraving. Understanding and choosing the right mode can make your engravings look more realistic and refined, while also adapting to the properties of different materials. Aliencell Space offers two core strategies: Grayscale and Dithering (which includes algorithms like Ordered, Floyd, Jarvis, Stucki, Atkinson, Burkes, and Newsprint).
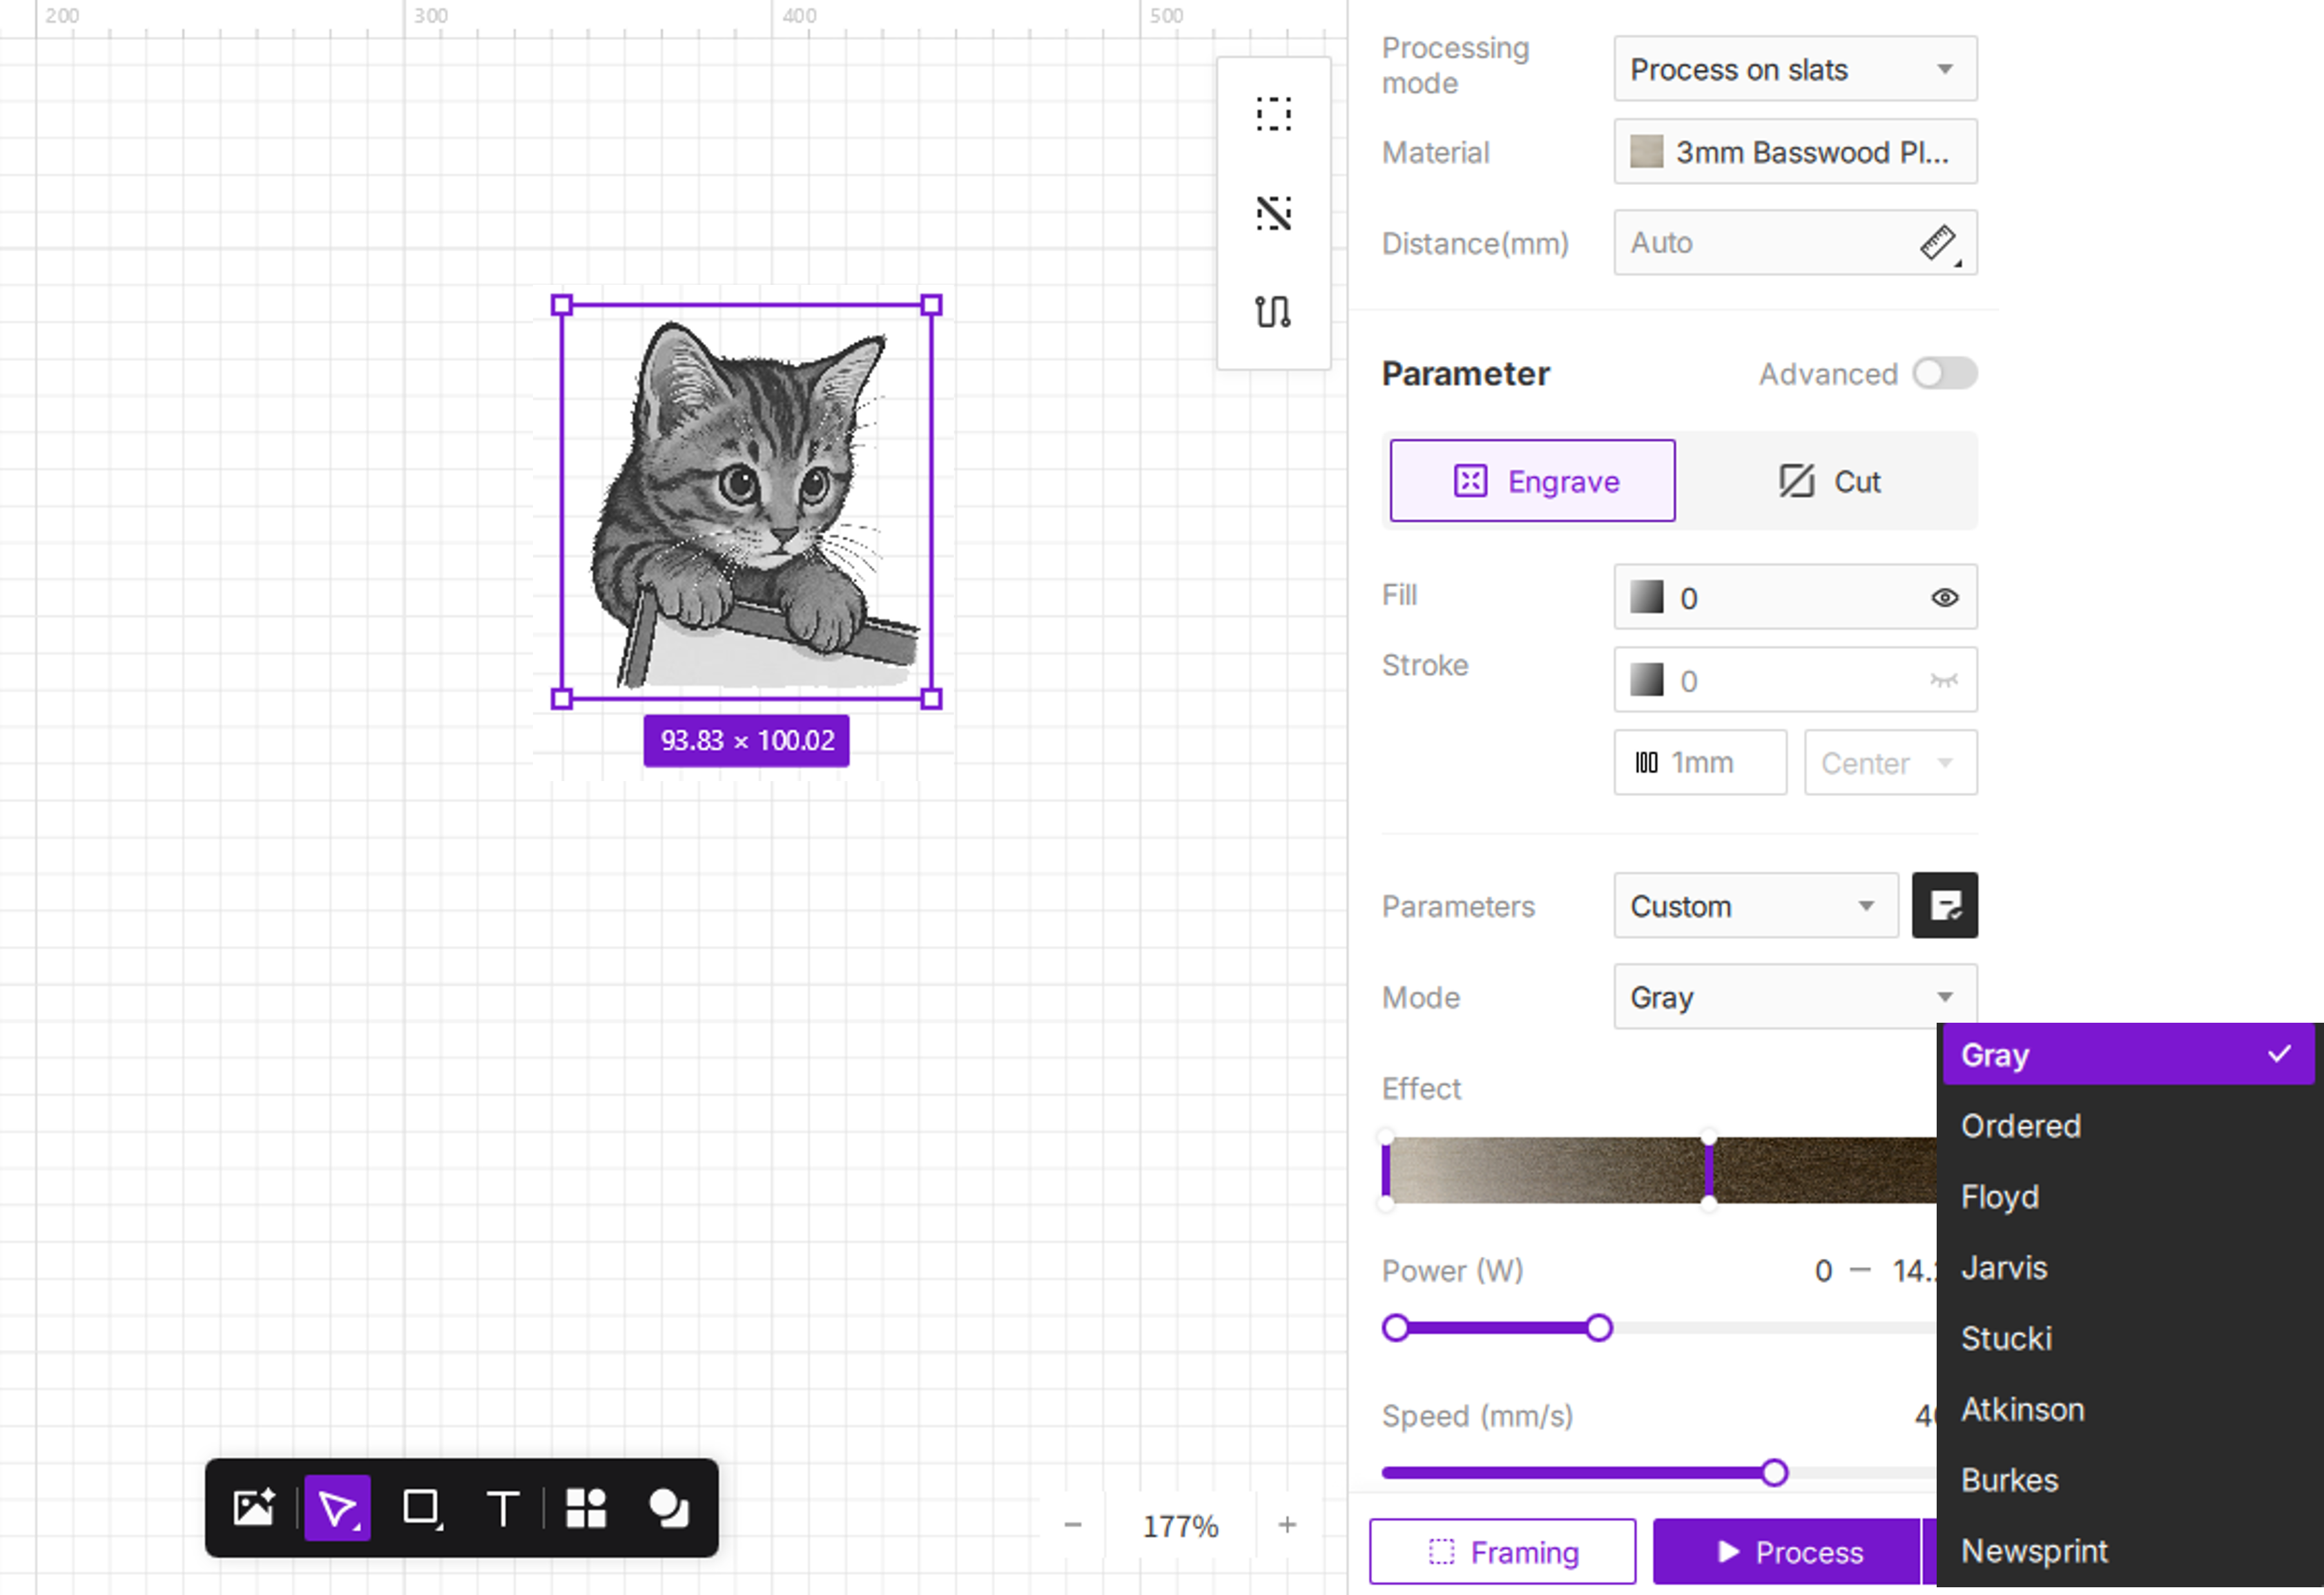
You can directly compare the results of different modes in the Job Preview. Click the ![]() icon to open the preview window, where you can zoom in to examine the fine details of how an image will be rendered, including dot patterns, line depth, and overall texture.
icon to open the preview window, where you can zoom in to examine the fine details of how an image will be rendered, including dot patterns, line depth, and overall texture.
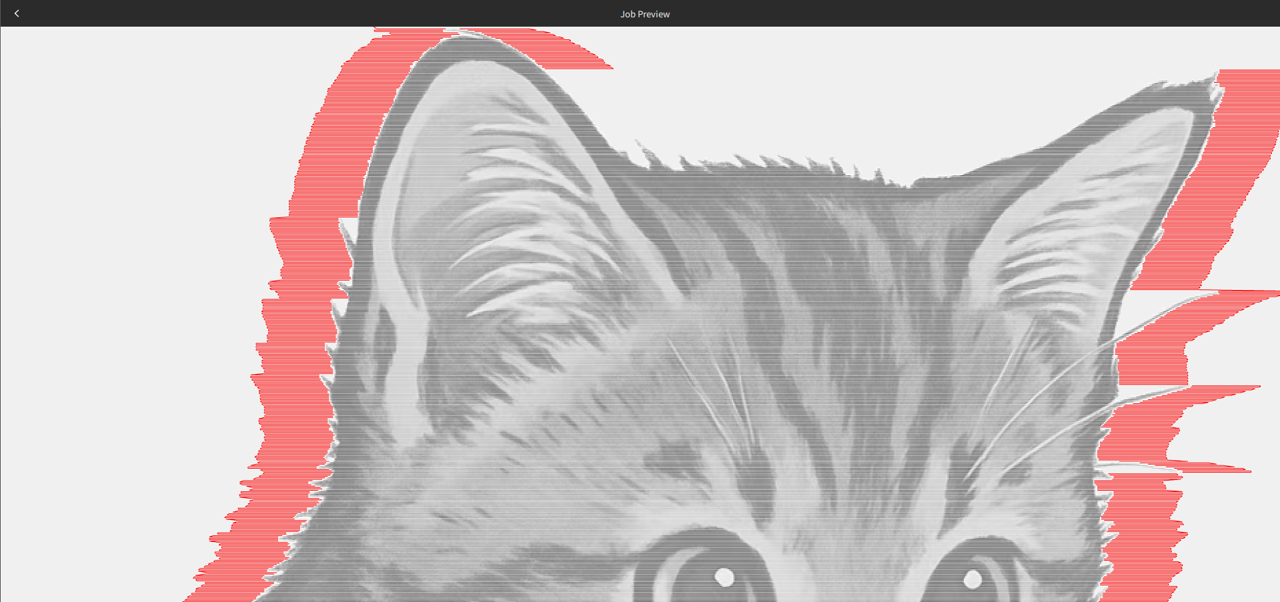
¶ 4.1 Grayscale Mode
-
How it works: The laser adjusts its power intensity based on the darkness of the image.
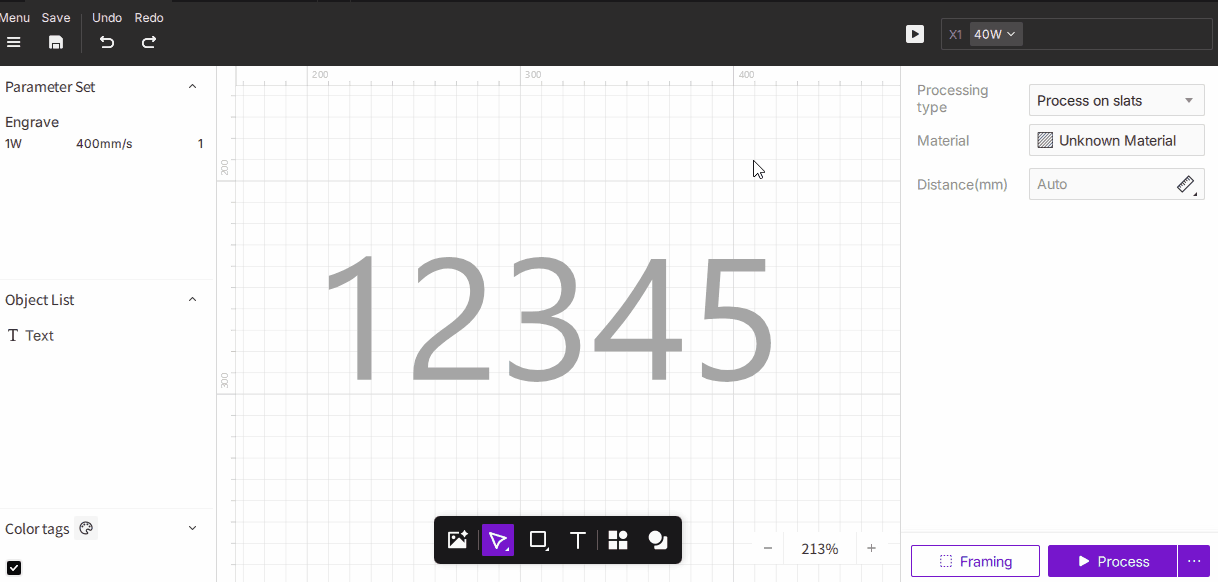
The image below shows the Grayscale mode with all advanced parameters set to their defaults. In this mode, the laser head scans the entire area of the image, line by line. It "paints" the image by continuously varying the laser power—higher power for dark areas, lower power for light areas—to create a design with smooth, gradual tones.
-
The result: Darker areas are engraved deeper, while lighter areas are engraved shallower, creating smooth gradients and fine detail.
-
Best for: Photos, landscapes, or any design that requires a realistic, shaded appearance.
-
Suitable materials: Wood, cardboard, slate, and other materials that show a change in color or depth when engraved at varying power levels.
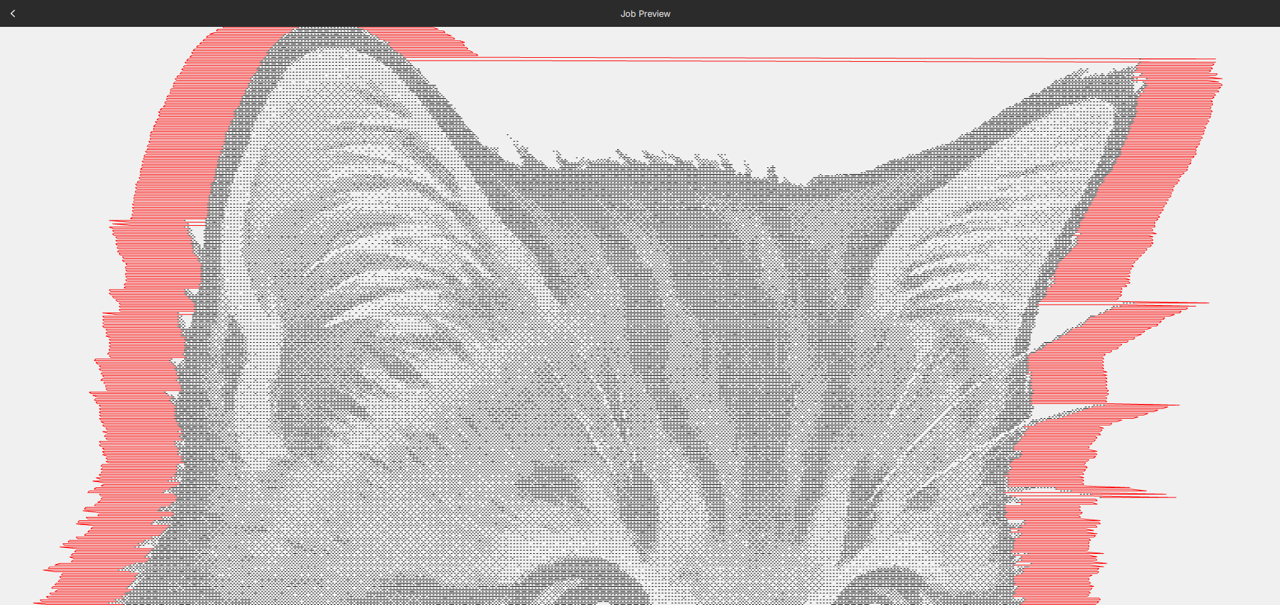
¶ 4.2 Dithering Mode
-
How it works: The laser uses a fixed power level and creates the illusion of shades by varying the density of dots.
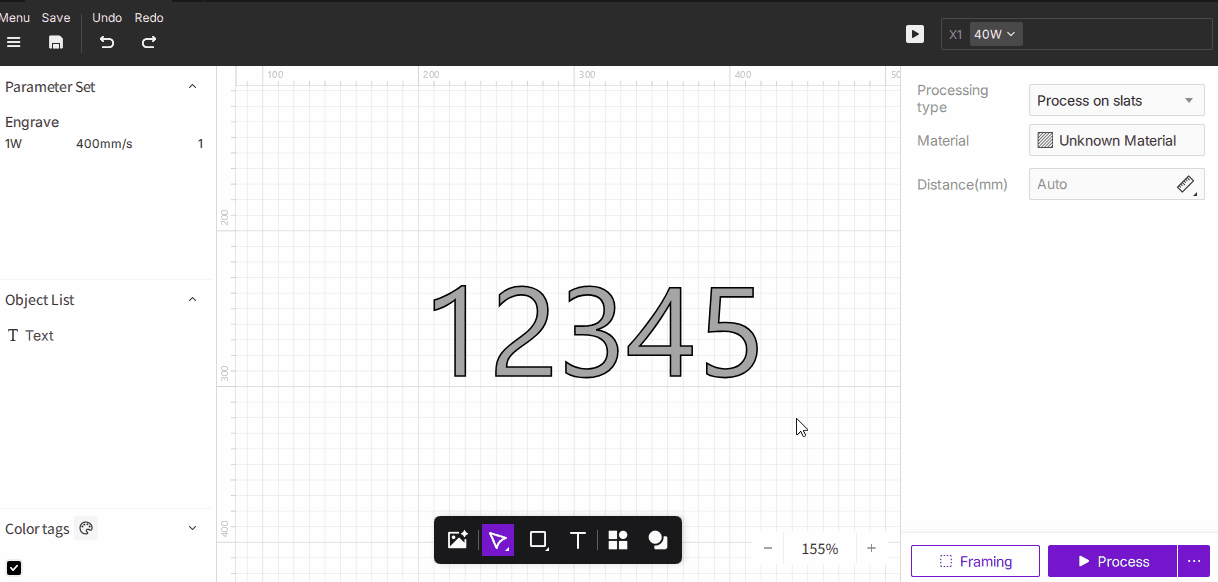
The image below shows the Ordered mode with all advanced parameters set to their defaults. You can see the clear difference in the laser module's travel path compared to Grayscale mode. The laser module only moves over areas where dots need to be placed, resulting in shorter and more efficient travel paths.
-
The result: Creates tonal depth through dot patterns. The look is clear and well-defined but without the continuous gradients of Grayscale.
-
Best for: Materials that do not respond well to variable power.
-
Suitable materials: Coated metals, acrylic, glass, and other materials that produce a consistent mark when hit by the laser.
Dithering modes determine the pattern of dots the laser uses to represent the image. Different algorithms affect the smoothness and transition of the tones. Here’s a quick guide to what each one does.
| Mode Name | Description | Analogy |
|---|---|---|
| Ordered | Uses a regular, grid-like pattern of dots. It's fast but can sometimes produce visible lines or patterns. | Like the grid pattern from an old-school printer. |
| Floyd | The most common algorithm (Floyd–Steinberg). It produces smooth, natural-looking tonal transitions. | Like a high-quality black-and-white photograph. |
| Jarvis | A more refined error-diffusion algorithm that creates soft, delicate gradients. | Like the gentle shading from an inkjet printer. |
| Stucki | Similar to Jarvis but computationally more efficient, resulting in clean, distinct tones. | Like a grayscale illustration with a sharp resolution. |
| Atkinson | Uses less dot diffusion, resulting in a sharper image with more pronounced details and contrast. | Like a crisp image made of fine, concentrated dots. |
| Burkes | Strikes a good balance between processing speed and image quality. | Like the print quality of a mid-resolution newspaper. |
| Newsprint | Simulates the halftone effect used in newspaper printing, creating a distinct, grainy look. | Like a newspaper photo that shows its dot pattern when you look closely. |
¶ 5. Effect
The Effect feature gives you an intuitive preview of the final result before you engrave, so you don't have to rely on abstract power and speed numbers. Based on your selected material, it simulates the depth and texture of the engraving, letting you see a virtual result before starting the job.
To use this feature, you must first select a specific material from the material library.
Why can I see the engraving preview?
¶ 5.1 Adjusting the Engraving Preview
-
After selecting a material, click the Material Simulation
 icon in the top-right corner of the canvas. The canvas will then be filled with a texture representing your chosen material.
 -
Drag the Effect slider to choose your desired engraving appearance. When you do this, the software will prioritize keeping the speed constant while adjusting the power value to match the visual effect.
- In Grayscale mode, you can select an effect range (a darkest value and a lightest value).
- In Dithering mode, you can only set a single, fixed effect value.
¶ 5.2 Locking the Effect Feature
When you've found the perfect look but want to increase the job speed without sacrificing quality, you can press the K key to lock the preview effect. Then, as you drag the speed slider, the power will automatically adjust to maintain a consistent visual result. Release the K key to unlock.

The material simulation can get close to the real thing, but it cannot be a 100% perfect replica. Because laser engraving involves multiple non-linear factors like laser variability and material absorption properties, the goal of Aliencell Space's 'what you see is what you get' feature is 'realistic simulation,' not 'physical replication.' Therefore, we recommend using the effect preview as your best starting point—a key step in ensuring your work meets the highest professional standards.
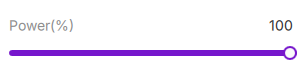
¶ 6. Engraving Power
- Controls the laser output energy, ranging from 0 up to the maximum power of your machine. Higher power produces deeper and darker marks.
- In Grayscale Mode, you can set a power range (minimum and maximum). Other modes allow only a single fixed value.

- Power Units:You can switch the display unit between watts (W) and percentage (%) in the software settings.
- W (Watts): Shows the absolute power output.
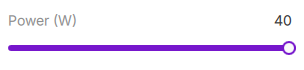
- % (Percentage): Shows the percentage relative to the maximum power of the installed laser module.For example, with a 40W laser module, 100% power corresponds to 40W output.
- W (Watts): Shows the absolute power output.
¶ 7. Engraving Speed
- Determines how fast the laser module moves across the material.
- Slower speeds allow the laser to deliver more energy to a single spot, resulting in a deeper/darker mark. Faster speeds produce a lighter mark.
Power and Speed work together to determine the final result. Finding the perfect balance is key to mastering laser processing.