In the Parameter panel on the right side of Aliencell Space, you can find the Canvas Background feature. This feature provides three different modes to control how the workspace is displayed, helping you intuitively preview design effects and achieve precise positioning.
The toolbar includes four icons:
- Select Material: Opens the Material Library
- Blank: Shows a clean grid background
- Material Simulation: Applies a texture preview based on the material you selected
- Snapshot: Captures a real-time camera image from your machine as the workspace background

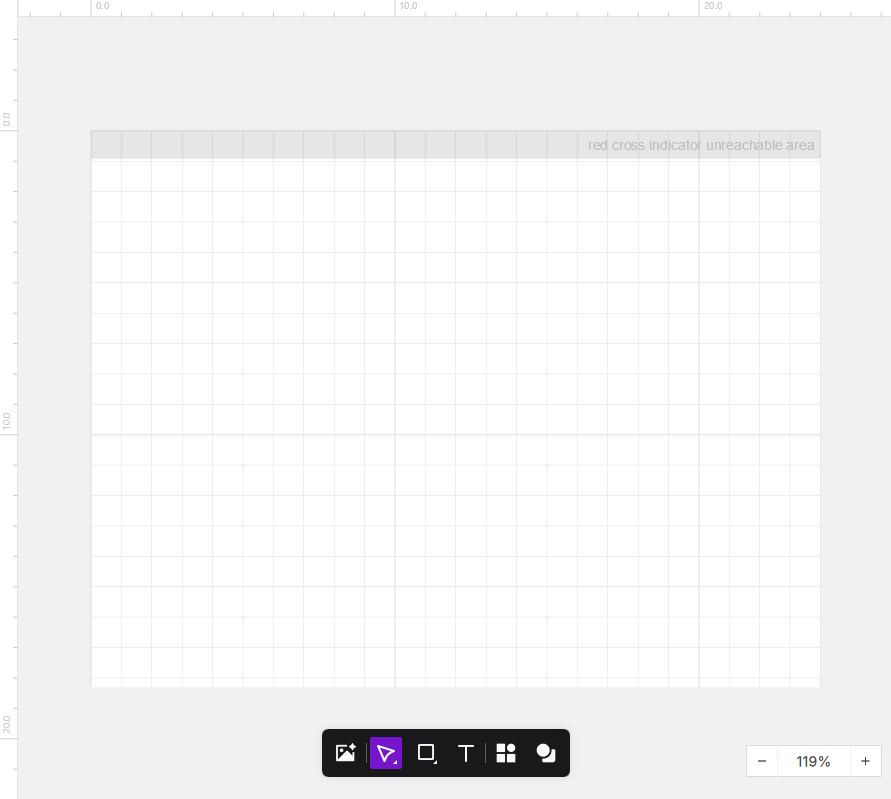
¶ 1. Blank Canvas
The first icon, Blank Canvas, is the system's default mode. In this mode, the canvas displays a clean grid background representing the standard processing area of the device.
- Use Cases: Pure design composition, general layout where material texture or physical location is not a concern.
- Features: Minimum visual interference, clearly displaying vector paths of graphics.
¶ 2. Material Simulation
2nd Icon: ![]()
Material Simulation mode automatically fills the canvas with the corresponding physical texture background based on the material type you have selected in the software.
- Use Cases: Previewing the visual contrast and approximate effect of a design on specific materials (such as basswood, leather, stainless steel).
- Operating Method:
- Select the target material in the material library.
- Click the Material Simulation icon.
- The canvas background will automatically switch to the simulated texture of that material.
Material simulation effects can be close to reality, but cannot be 100% restored. Because laser engraving involves multiple non-linear factors such as laser differences and material absorption characteristics, Aliencell Space's What You See Is What You Get goal is "realistic simulation" rather than "physical replication." Therefore, we recommend you treat the effect as a best starting point, which is a key step to ensure your work reaches the highest professional standards.
¶ 3. Snapshot
3rd Icon: ![]()
Snapshot mode is one of the most core auxiliary features of Aliencell X1. It utilizes the machine's built-in high-definition camera to capture a real-time image of the processing area and immediately synchronize it to the canvas background.
- Use Cases: Precisely positioning design drafts to specific locations on materials, finding processing space on remaining materials (scraps), and avoiding material flaws.
- Function Features:
- Real-time Alignment: You can directly drag graphics on the canvas to perfectly cover the physical material in the photo.
- Refresh Image: If you move the material inside the machine, simply click the icon again, and the camera will re-capture and update the canvas background.
- Global Refresh: In multi-workspace projects, this operation can synchronously update the real-time background for all associated canvases.
Note: The snapshot feature depends on device connection. If the device is offline, this mode cannot be enabled. If you find a deviation between the photo and the actual position, please go to the touchscreen to perform Photo Capture Calibration.