Object Management includes Parameter Sets, Color Labels, the Object List, and all objects within the workspace.
These tools help you organize, edit, and manage every element of your engraving project, all from the panel on the left side of the software.
- Click the small triangle icon next to each Object Management section to expand or collapse it.
¶ 1. Parameter Sets
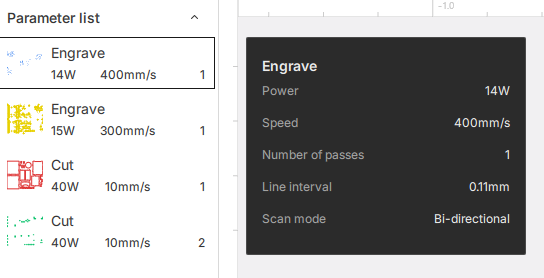
Parameter Sets list all processing parameters used by the objects in your project.
Each entry shows a thumbnail preview, the operation type (Cut or Engrave), power (W or %), speed (mm/s), and the number of passes.
- Parameter entries are generated automatically based on the operations in the project. They cannot be added or removed manually.
- Entries are sorted automatically by creation time.
- Clicking a parameter entry selects all objects in the project that use that parameter.
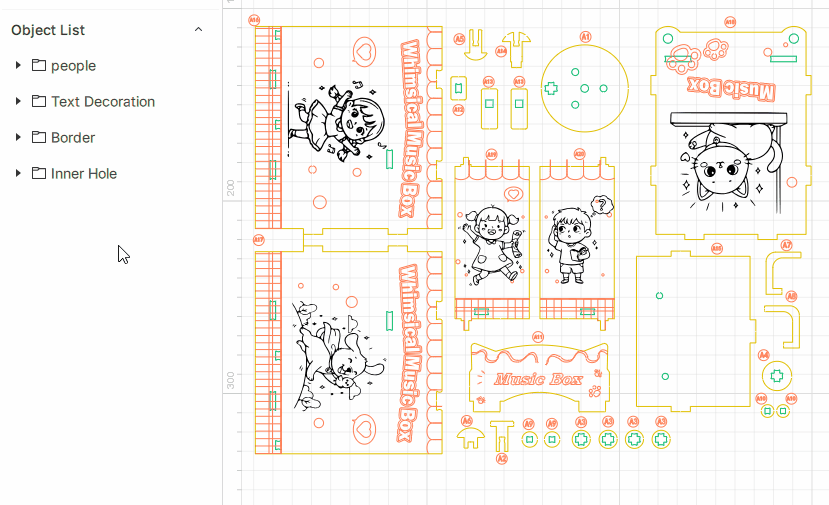
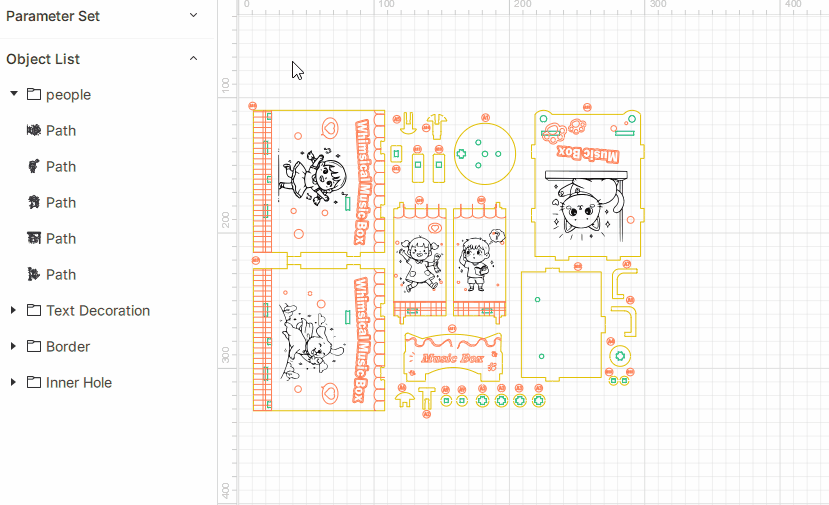
¶ 2. Object List
The Object List allows you to view and manage every object in your project.
Your design may include multiple objects (primitives and groups), displayed in a hierarchical tree for easy selection, naming, grouping, and ordering.
¶ 2.1 Primitive Objects
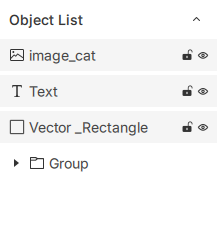
- Primitives include bitmaps, text, vectors, and shapes.
- Newly created or imported primitives appear automatically in the list; when deleted from the canvas, they are removed from the list at the same time.
¶ 2.2 Group Objects
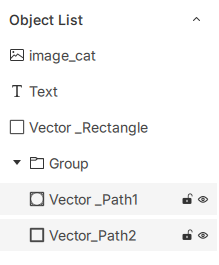
- Multiple primitives can be grouped into a single Group object. Groups appear as a parent item, with child objects nested below for unified management.
- Objects inside a group can still have their own operation parameters and attributes.
¶ 2.3 Object List Operations
¶ 2.3.1 Selecting Objects
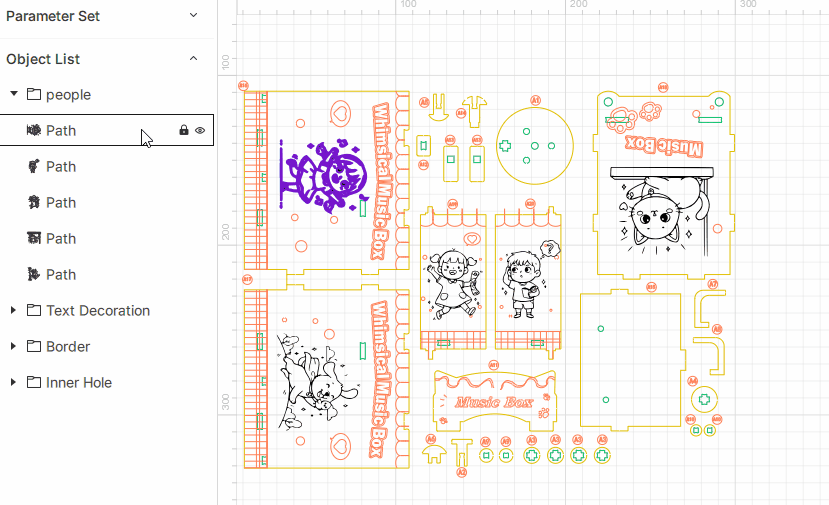
- Click an object in the list to highlight it on the canvas.
¶ 2.3.2 Multi-Select
- Hold Ctrl to add or remove selections.
- Hold Shift to select a continuous range of objects.
¶ 2.3.3 Rename
- Double-click an object name to edit it. All objects—groups and primitives—have default names.
¶ 2.3.4 Hide / Show Objects
- Hide: Click the
 icon to hide an object. Hidden objects will not appear on the canvas. Hiding a group hides all its children.
Hidden objects are not visible on the canvas and will not be processed.
- Show: Click the
 icon to show the object again.
When switching back to visible, child objects return to their previous visibility states (hidden children remain hidden).
¶ 2.3.5 Lock / Unlock Objects
- Lock: Click the
 icon to lock an object. Locked objects cannot be moved or scaled with the mouse.
- Locked objects can still be edited through the toolbar—position, size, rotation, mirroring, and more. They can also be selected on the canvas and used with right-click actions.
- Unlock: Click
 to remove the lock.
- When locking a group with multiple objects inside, child objects cannot be edited with the mouse, but can still be modified via the toolbar. When the group is unlocked, child objects return to their own original lock states.
If a group is unlocked but some of its children are locked, mouse operations on the group (position, size, rotation) will ignore the children’s lock states.
¶ 2.3.6 Collapse / Expand Objects
- Collapse: Click the
 icon to hide all children under a group.
 - Expand: Click the
 icon to reveal all child objects.
¶ 2.3.7 Reordering Objects
- Drag objects within the list to reorder or change their hierarchy.
- Both groups and primitives can be rearranged.
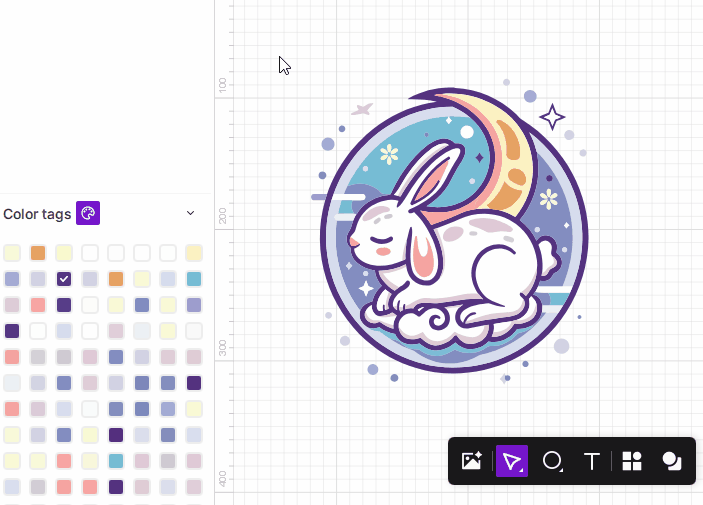
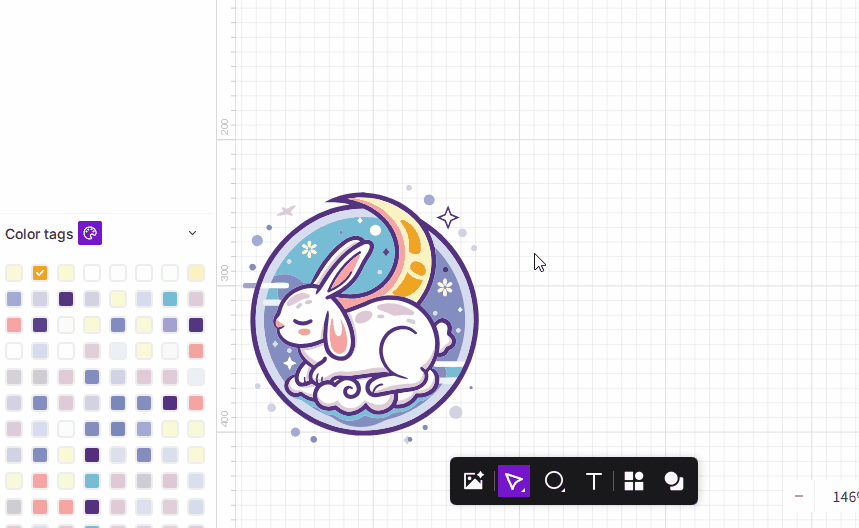
¶ 3. Color Tags
Color tags help you organize different object layers within your project. All tags currently in use can be viewed on the left side of the interface.
Each tag includes a number, color indicator, name, and action buttons. The color indicator is unique and identifies each layer. When you draw or import new objects, they are automatically assigned to the currently selected tag.

¶ 3.1 Managing Color Tags
-
Tags cannot be manually added or deleted.
-
When a project uses a new tag, it is added automatically; tags that are no longer in use are removed automatically. Even in an empty project, at least one default tag is always retained.
-
Click any tag to set it as the current tag. The selected tag displays a ✔ icon. Any newly drawn or imported objects will be assigned to this tag.
-
If you import artwork that contains layer information, the software will ask whether to retain the original layer structure and colors.
¶ 3.2 Encoding Colors
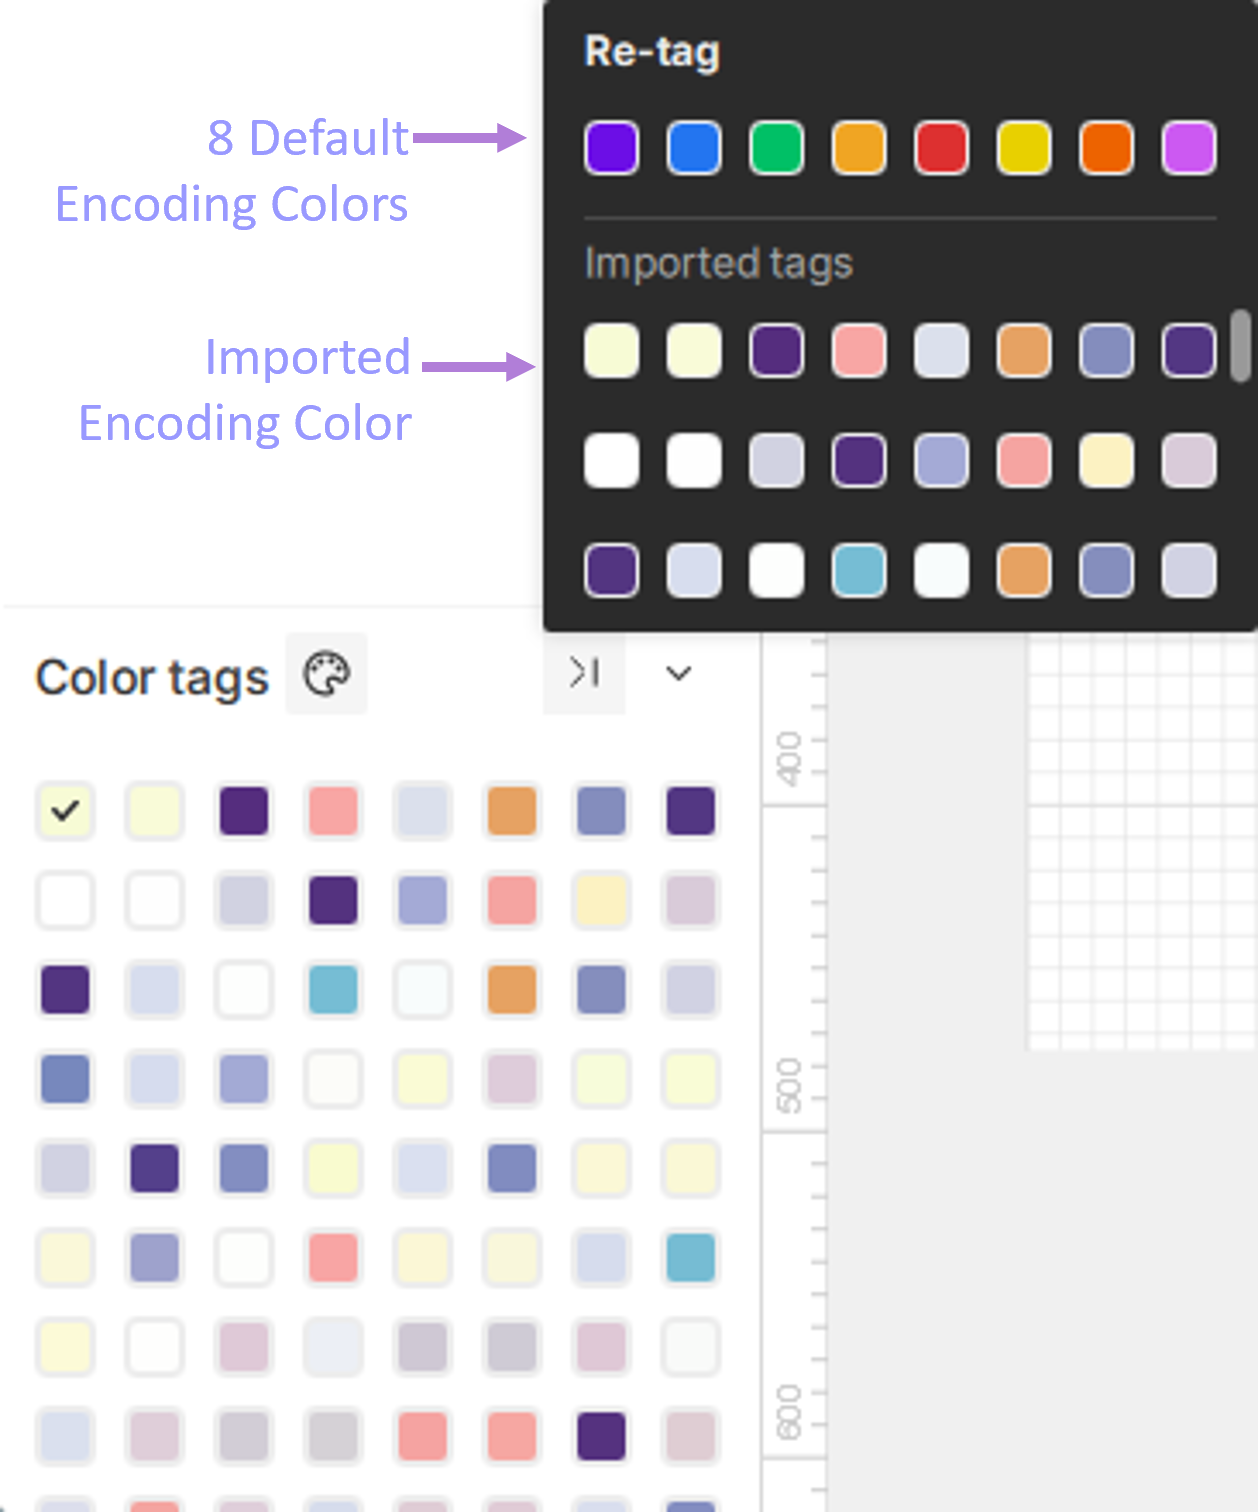
- Each tag has a unique encoding color (not editable) used to distinguish individual layers.
- The software provides 8 default colors. You can switch between the imported artwork colors and the default palette.
- When importing layered artwork, the software automatically applies the source file’s colors as the encoding colors.
¶ 3.3 Re-Tagging Objects
-
Right-Click Menu: Select one or more objects, right-click, choose Switch To, and then select the target tag color.
-
Tag List Icon: After selecting objects, click the Switch To icon displayed in the tag list. (This icon is hidden when no objects are selected.)
¶ 3.4 Showing and Hiding Tags
- Click the icon next to a tag’s name to toggle the visibility of all objects under that tag. When a tag is hidden, all of its objects disappear from the canvas, and the icon changes to .
Click the icon again to reveal the objects.
When objects are hidden, they will not be processed when submitting a job!
¶ 3.5 Enable/Disable Processing
Use this feature to keep alignment guides, positioning frames, or auxiliary sketches visible on the canvas without including them in the final output. This allows you to maintain design references while ensuring the laser machine does not engrave or cut these specific elements.
- Disable Processing:
Click the Status icon located to the right of the color label. When disabled, objects associated with this label remain visible on the canvas for design and alignment purposes; however, the machine will not process these objects or include them in the framing path. The color's hex code will appear with a strikethrough (e.g.,
 #E8D000) as a visual indicator that the layer is inactive.
- Enable Processing:
Click the Status icon again to resume normal operation. The strikethrough will disappear from the hex code, and all objects under this color label will be reintegrated into framing and processing tasks.
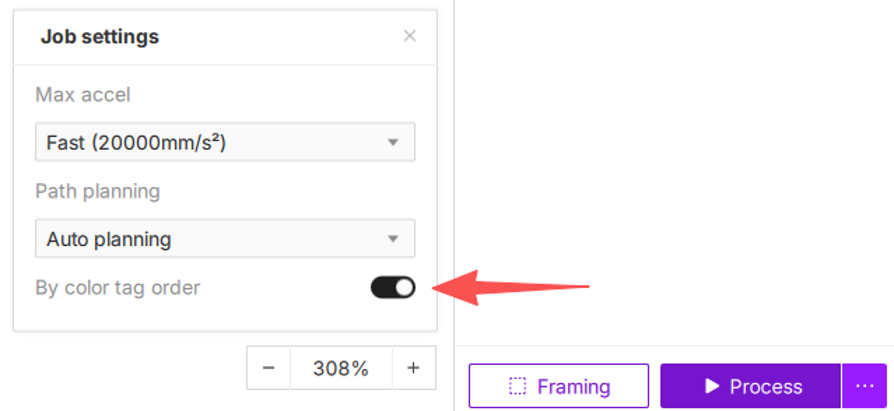
¶ 3.6 Reordering Color Tags
By dragging and dropping your color tags, you can take full control of the laser processing sequence. Once you have enabled the By color tag order feature, the vertical order of your tags in the list determines the execution sequence—the topmost tag is processed first, followed by the others in descending order.
Operation Steps:
- Enable the function: Click the
 icon next to the Process button and toggle on By color tag order.
- Expand the color list: If the color tag details are collapsed, click the
 icon to view the full list. Locate the specific tag you wish to reorder within the panel at the bottom-left.
 - Drag to reorder: Click and hold the color tag, then drag it up or down to your desired position and release.
- Confirm the sequence: Once released, the order is updated. The machine will strictly process objects from top to bottom as they appear in the list.
Pro-Tips:
- "Top-down execution": Remember that the higher the tag, the earlier it is processed.
- This feature only takes effect when By color tag order is enabled. When disabled, the system defaults to intelligent path optimization (prioritizing: Fill > Line > Cut), and manual reordering will not affect the output.