¶ Assembly Video
📹 Watch the Machine Assembly Video
¶ Assembly Guide
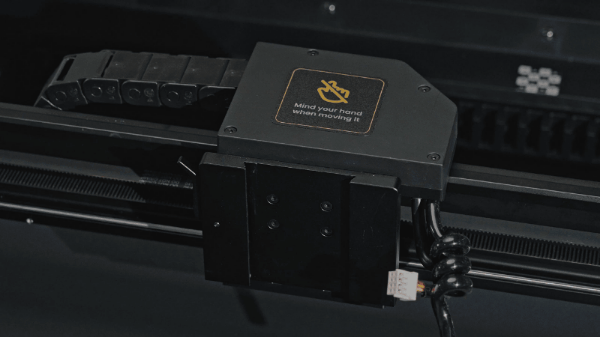
¶ Step 1: Install the laser module
Items needed: Laser Module, Distance Sensor

 |
 |
a.Pull down the handle on the X-axis slider |
b. Align the groove on the back of the laser module with the slot on the X-axis slider, and gently insert until it sits securely |
 |
 |
c.Push the handle back up to lock the laser module in place |
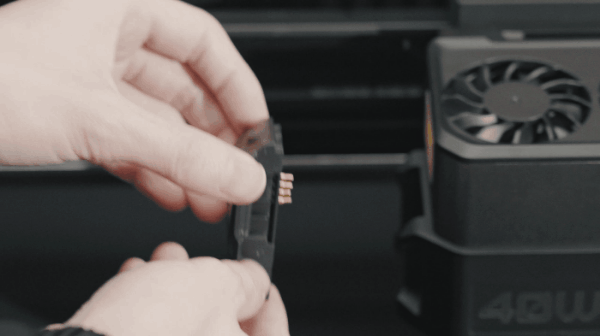
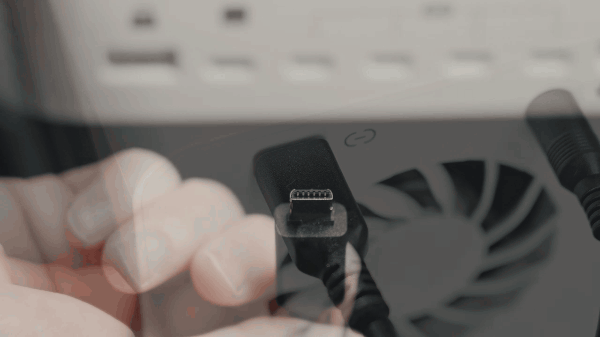
d. Connect the device’s terminal cable to the laser module. When inserting, make sure the raised mark on the connector is facing toward the air tube port |
 |
 |
e.Connect the air tube |
f. Note: The tube should be positioned above the cable |
 |
|
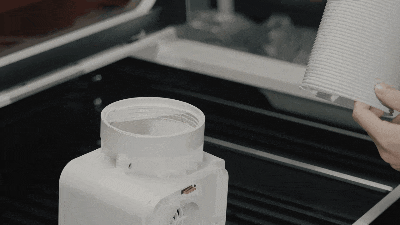
g.Install the distance sensor on the laser module |
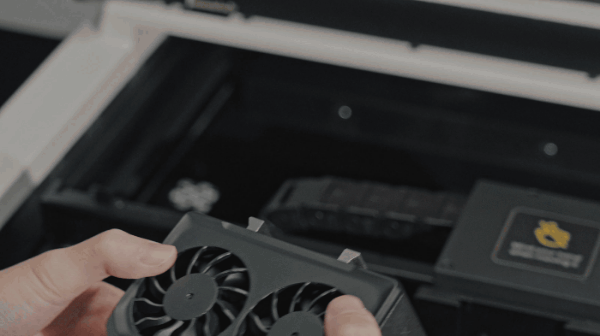
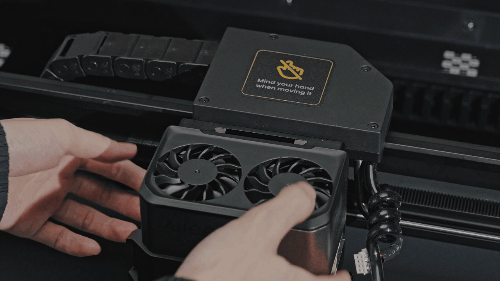
¶ Step 2: Install the smoke exhaust module
Items needed:Smoke Exhaust Module, Smoke Exhaust Pipe, Filter

 |
|
a.Screw the smoke exhaust pipe into the module following the thread direction |
b. Insert the two pieces of filter foam into the exhaust module |
 |
|
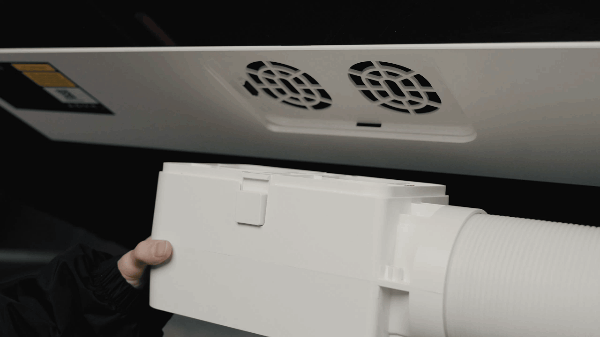
c.Insert the exhaust module into the rear port of the machine until it clicks into place |
¶ Step 3: Install the slats
Items needed: Slats

-
Move the laser module and rail to the top-left corner.
-
Insert the 22 slats one by one from top to bottom, leaving one slot empty between each.

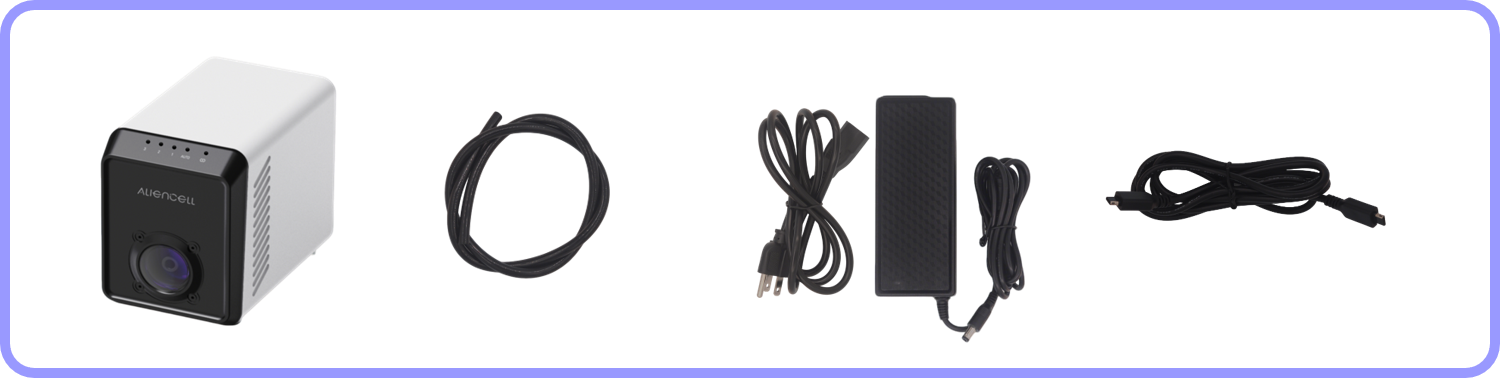
¶ Step 4: Install the air assist(Optional)
If you purchased Aliencell air assist, follow these steps.
Items needed: Air Assist, AC Power Adapter, Mini-B USB Cable, Air Tube
¶ 4.1 Connect the air tube
 |
 |
|---|---|
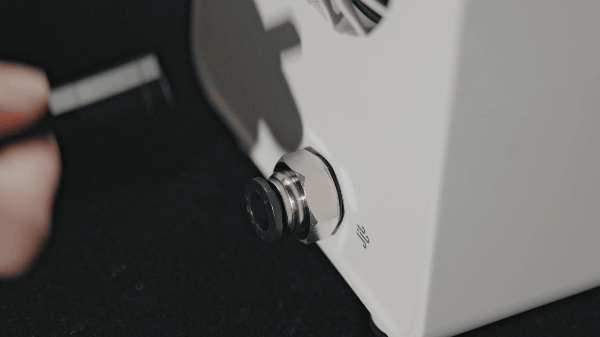
a.Push the air tube into the outlet on the back of the air assist. |
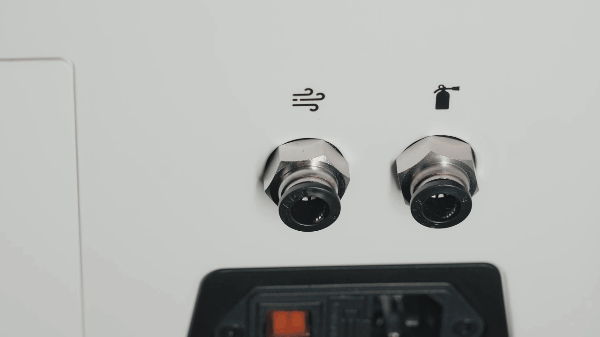
b. Push the other end into the machine’s air inlet . |
Tip: To insert or remove the tube, press the black ring on the connector.
¶ 4.2 Power Up the air assist
Connect the AC adapter to the air assist and plug into the power outlet.
 |
 |
|---|---|
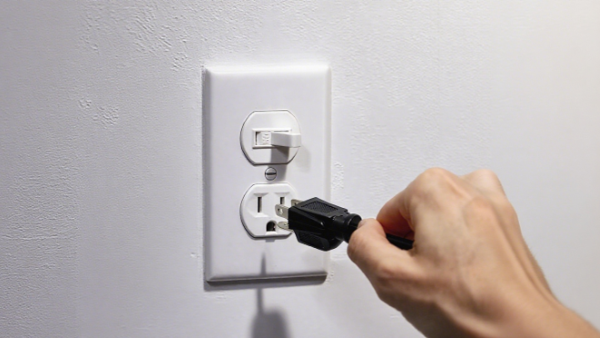
a.Connect the AC adapter to the air assist. |
b. Plug the power cord into the outlet |
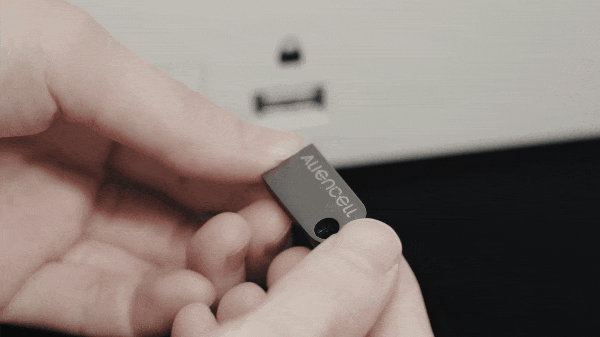
¶ 4.3 Connect the data cable
 |
 |
|---|---|
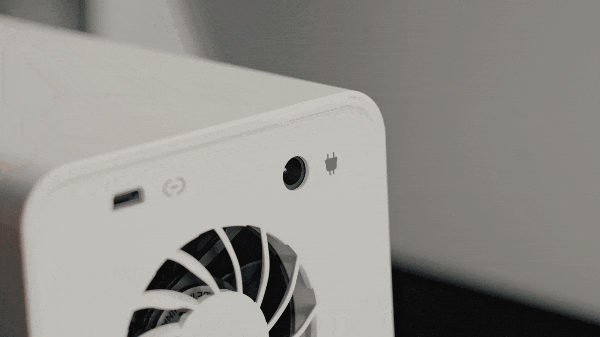
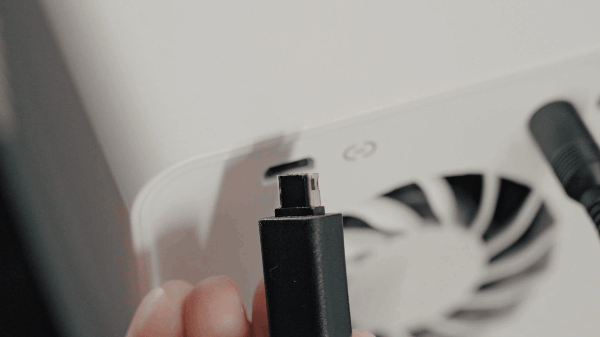
a. Connect the Mini-B cable to the air assist |
b. Connect the other end to the machine’s peripheral port |
¶ Step 5:Insert the U-Key
Items needed: U-Key
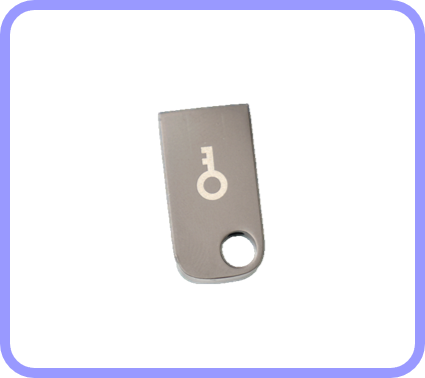
- Take the U-Key out of the storage box and insert it into the device
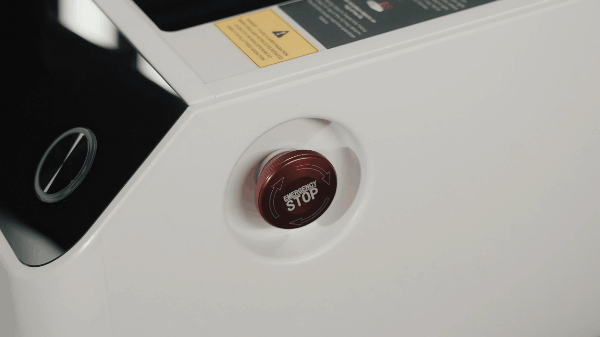
¶ Step 6: Check the emergency stop switch
- Ensure the E-stop is released.
- If pressed, rotate it clockwise until it pops up.
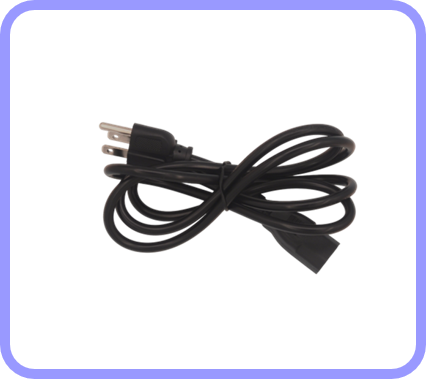
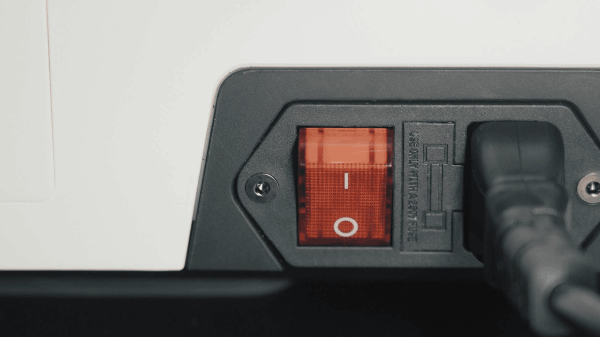
¶ Step 7: Connect the machine power cable
Items needed: Power Cable
 |
 |
|---|---|
a.Connect the power cable to the machine |
b.Turn on the machine |
For first-time use, follow the touchscreen prompts to activate your machine.