¶ 1. Why Photo Capture Calibration Is Needed
The camera is mounted on the machine’s lid, and during normal use you’ll frequently open and close the lid. Over time—or after transportation and vibration—the camera may shift by a fraction of a millimeter from its factory position. Even such tiny movement is enough to cause noticeable misalignment in captured images.
¶ 2. What Photo Capture Calibration Does
Photo capture calibration realigns the live camera image with the machine’s actual coordinate system. When captured photos show significant offset or distortion, running calibration recalculates the camera’s position inside the machine and restores accurate visual alignment.
For minor deviations, using Distance → Pick Points Measurement to compensate for material height is usually sufficient—no calibration required.
¶ 3. How to Perform Photo Capture Calibration
- Clear the workspace: Remove all materials from inside the machine. Make sure the six round calibration markers on the bottom plate are fully visible and free of dust or obstruction.
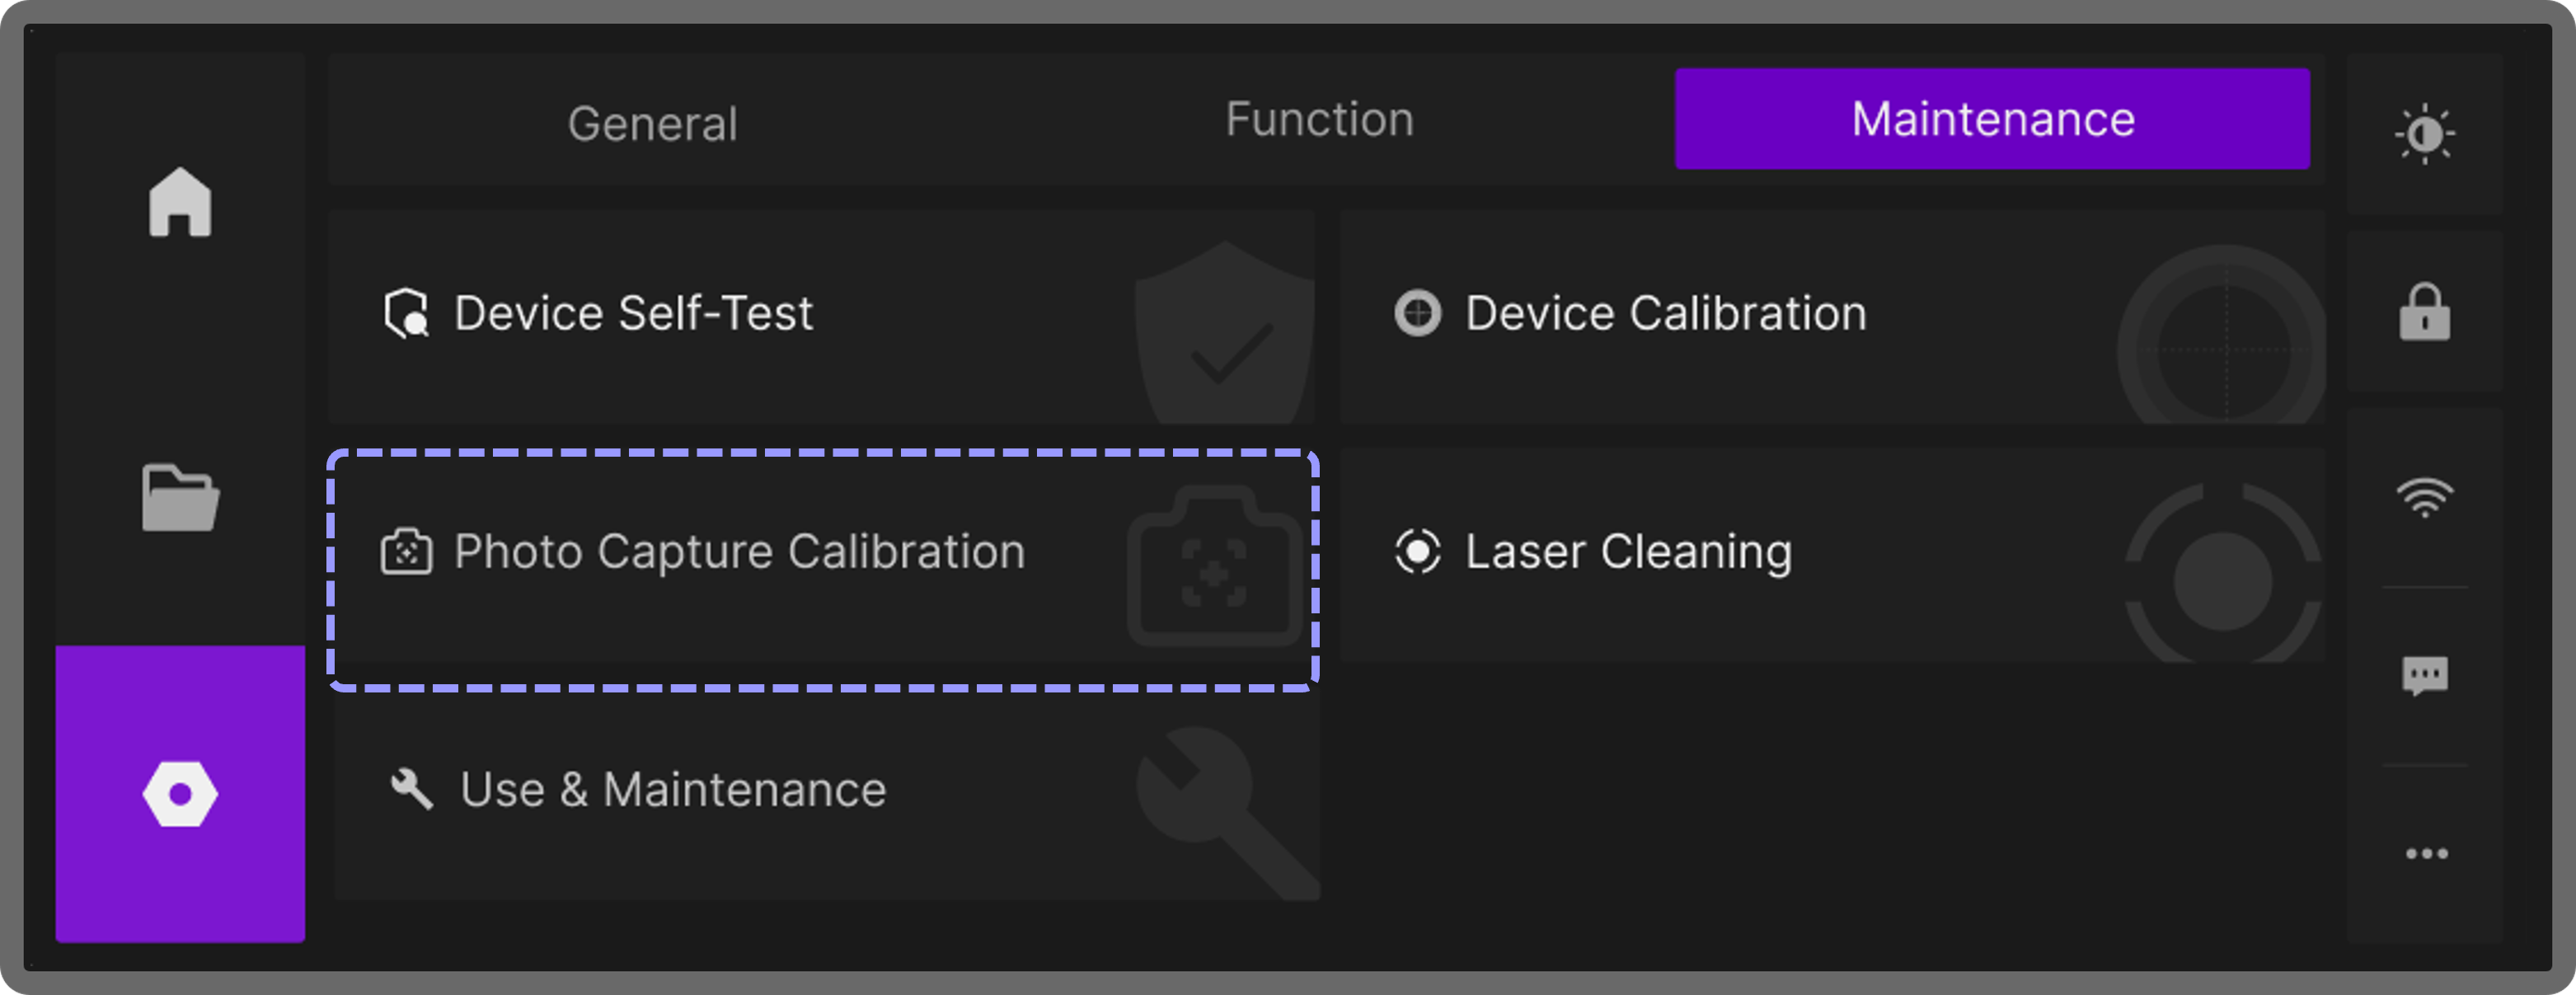
- Open the maintenance menu: On the touchscreen home page, tap Setting > Maintenance.
- Start the calibration tool: Find and tap Photo Capture Calibration.
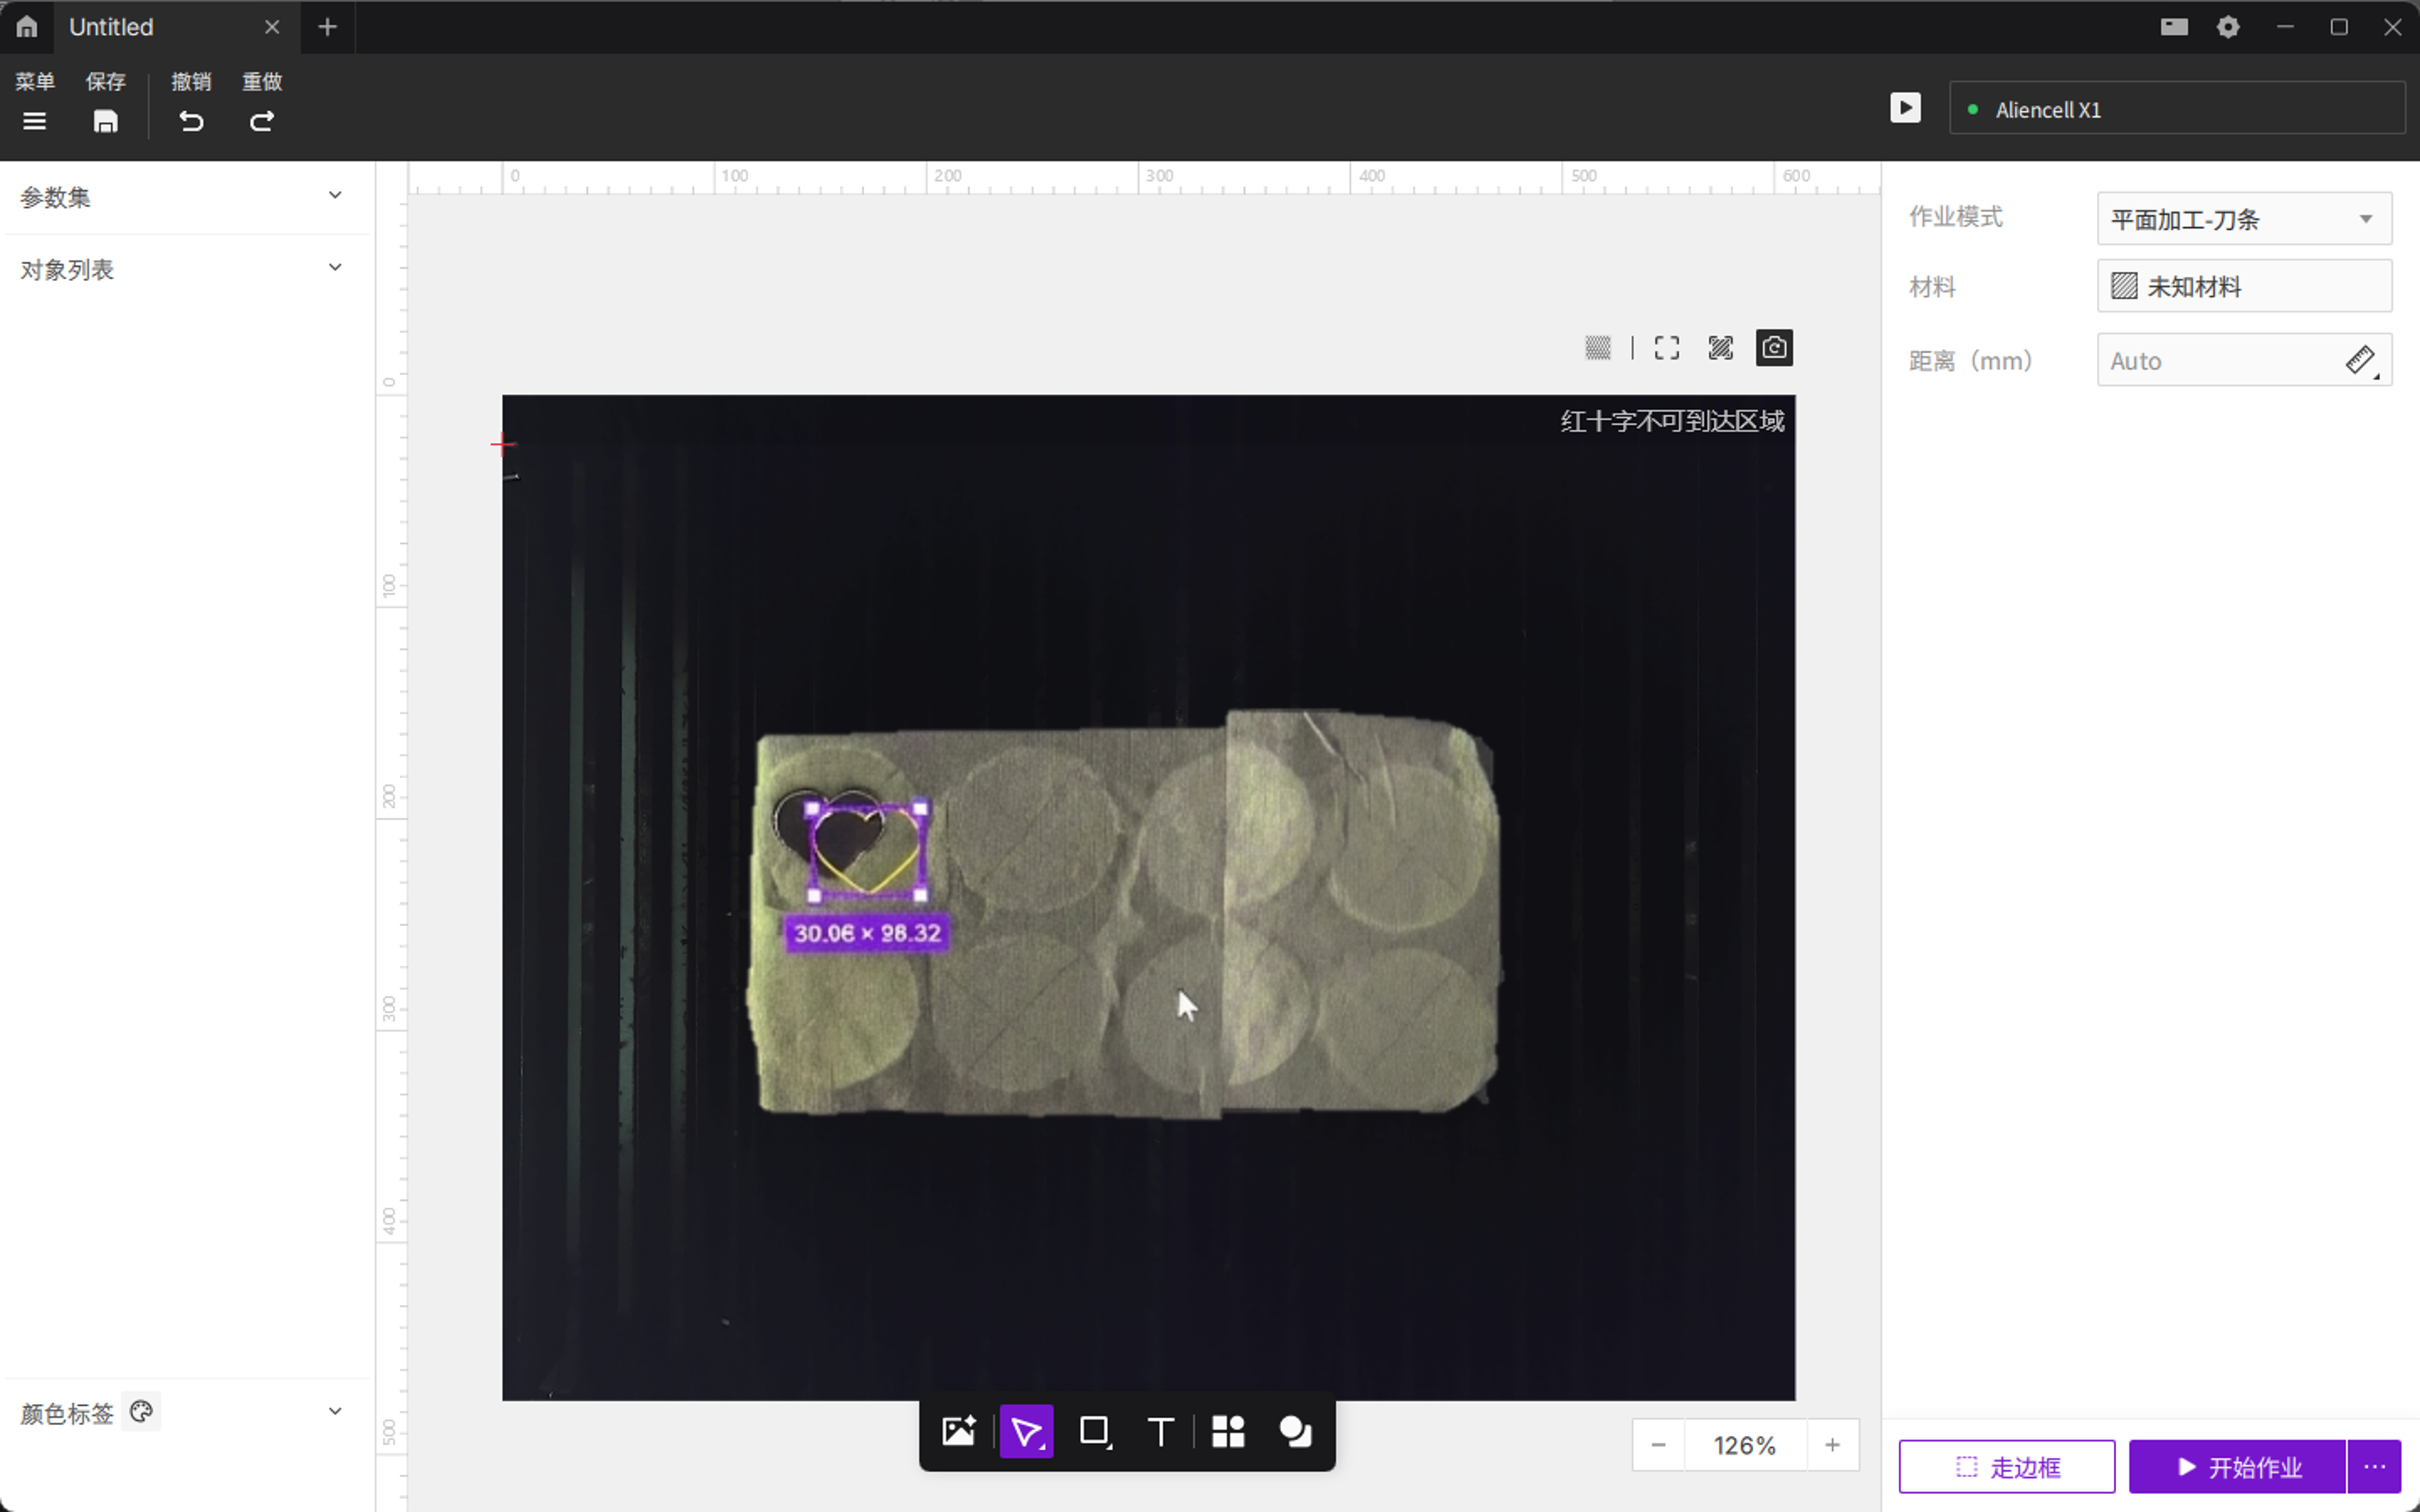
- Begin calibration: The system will display the camera capture window. After confirming the markers are visible and unobstructed, tap Start Calibration.
- Automatic calibration steps:
- Homing: The laser module moves to a designated position outside the camera’s field of view.
- Image capture: The camera automatically captures the six calibration markers on the bottom plate.
- Auto correction: After detecting the markers’ exact positions, the system recalculates and updates the camera’s coordinate parameters, establishing a new capture baseline.
- Finish: Once the screen confirms success, exit the menu. The next time you take a photo, the image will use the updated calibration data.