¶ Using the Air Assist
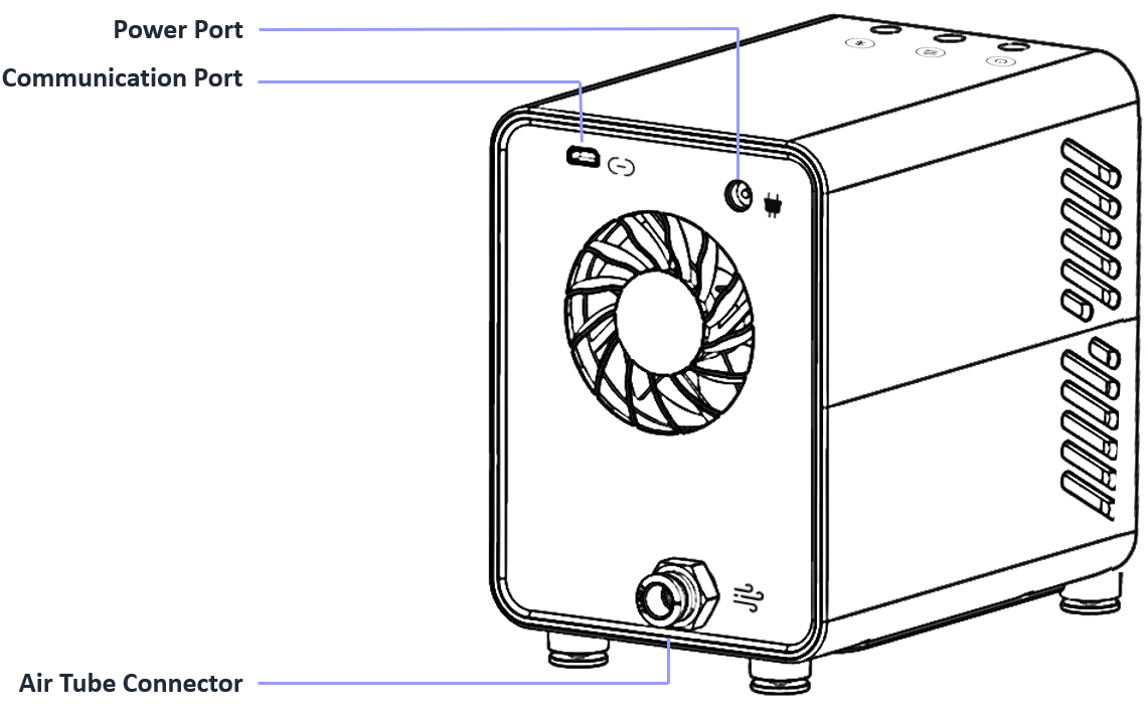
¶ Air Assist Structure Overview

¶ Using the Air Assist with Aliencell X1
¶ 4.1 Connect the air tube between the air assist and the machine air inlet
 |
 |
a. Push the air tube firmly into the air outlet port on the back of the air assist. |
b. Insert the other end of the tube into the air inlet port on the machine. |
When plugging or unplugging the air tube, press down the black circular collar around the connector to release it.
Do not insert the air tube too deeply. Doing so may cause the air pump to malfunction and the red light to flash.
¶ 2. Connect the air assist to power
Before turning it on, connect the power adapter and the AC cable to the air assist.
 |
 |
a. Plug the power cable into the power port on the back of the air assist. |
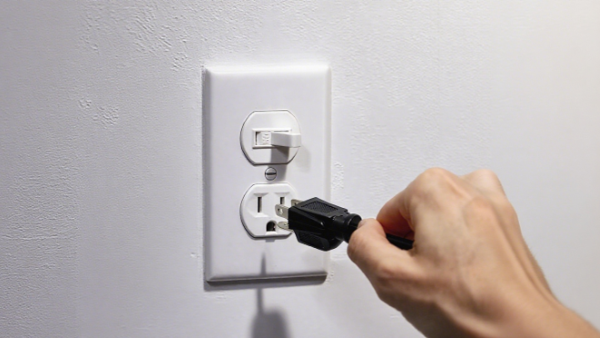
b. Connect the power cable to a wall outlet. |
¶ 3. Connect the air assist to the machine using the data cable
 |
 |
a. Use the Mini-B data cable to connect to the communication port on the air assist. |
b. Plug the other end into the peripheral port on the machine. |
¶ 4. Operating the air assist
- Turn on the air assist and use the control knob to adjust the airflow.
 |
- To check if the air assist is working properly, switch it to Level 1, 2, or 3. Place a small piece of paper under the Laser Module — if you feel airflow, the air assist is functioning properly.
 |
- Note: Before starting your engraving job, make sure to switch the air assist to Auto Mode.